The outside passenger door handle broke off my 914 but I was lucky enough to have a spare in my parts stash. Grab your shop manual and follow along as it's a very easy task to accomplish.
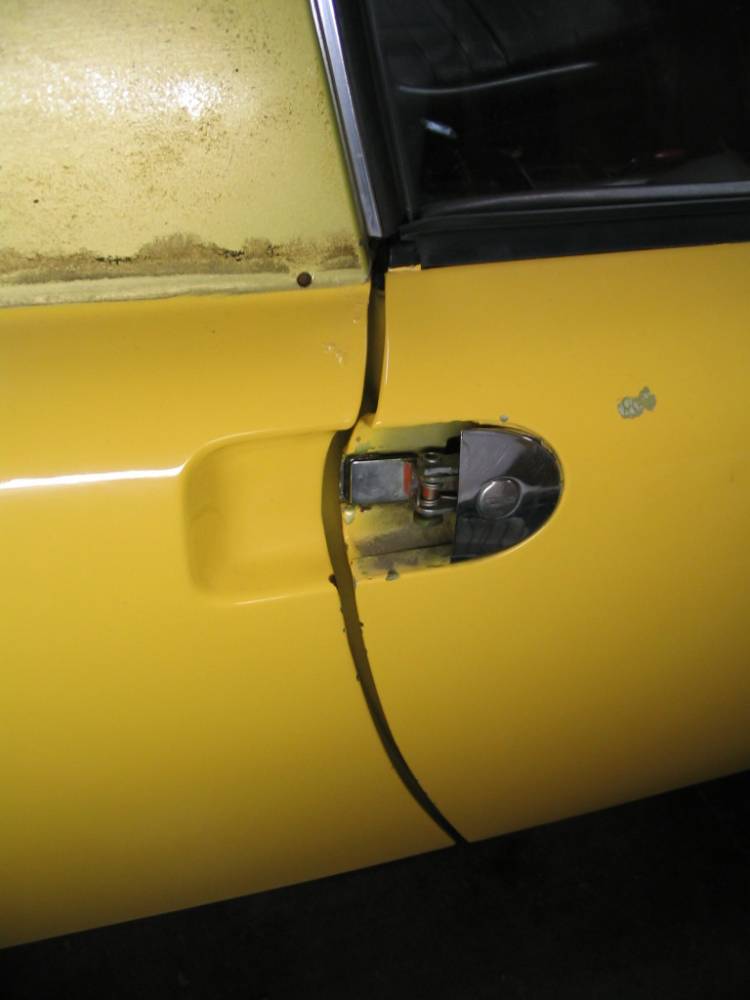
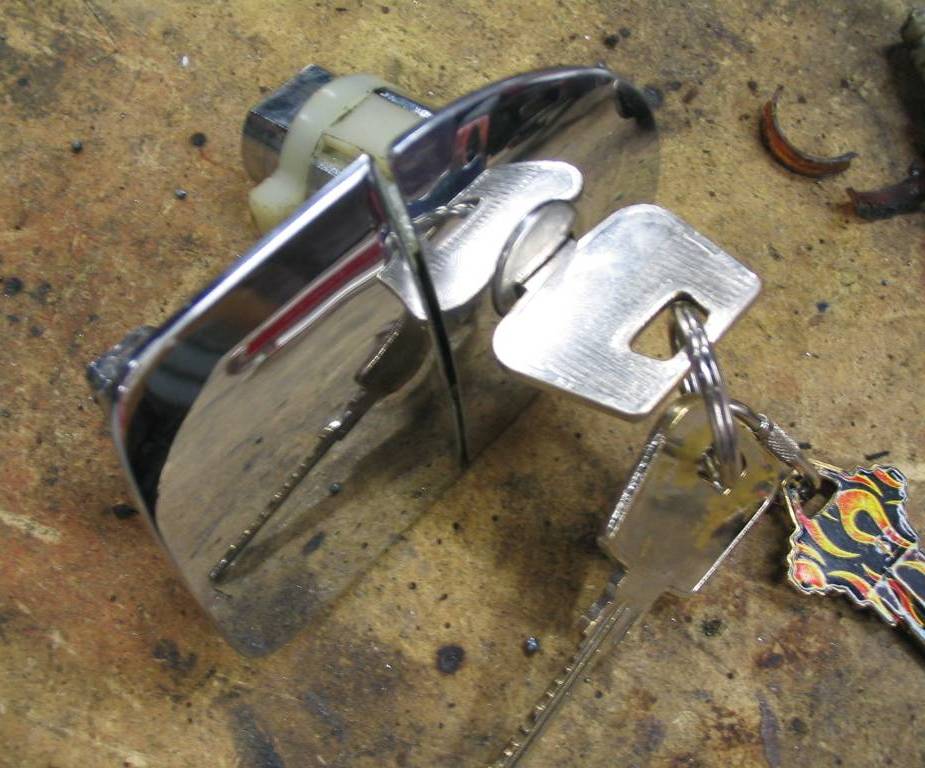
Here's the broken handle:
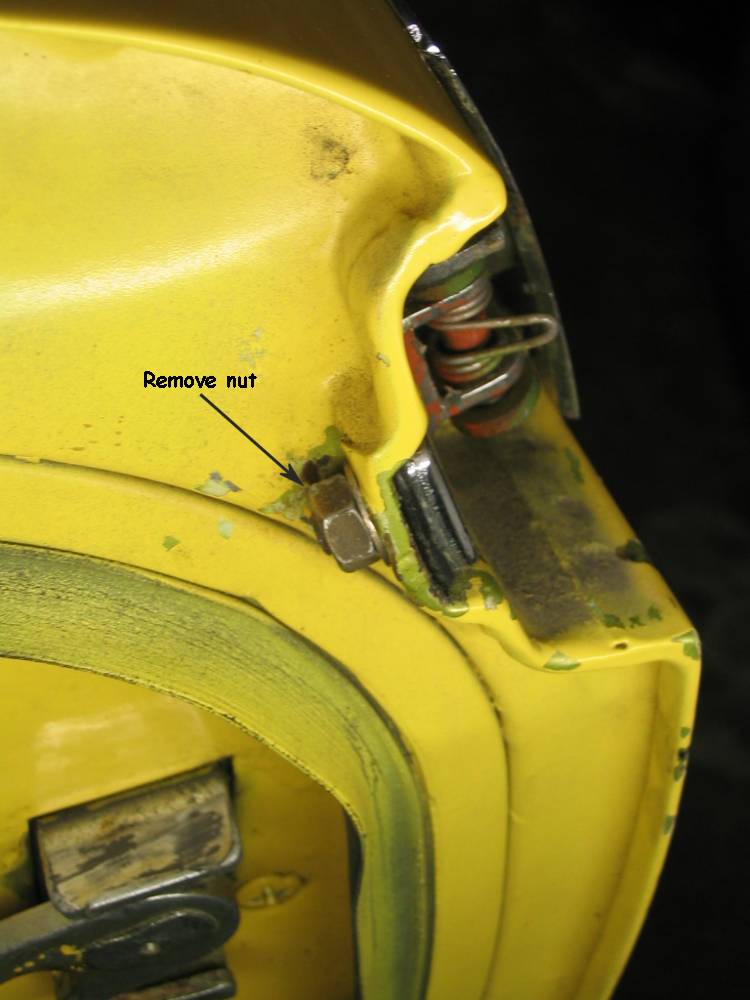
Start by opening the door and removing the nut that secures the back end of the handle to the door:
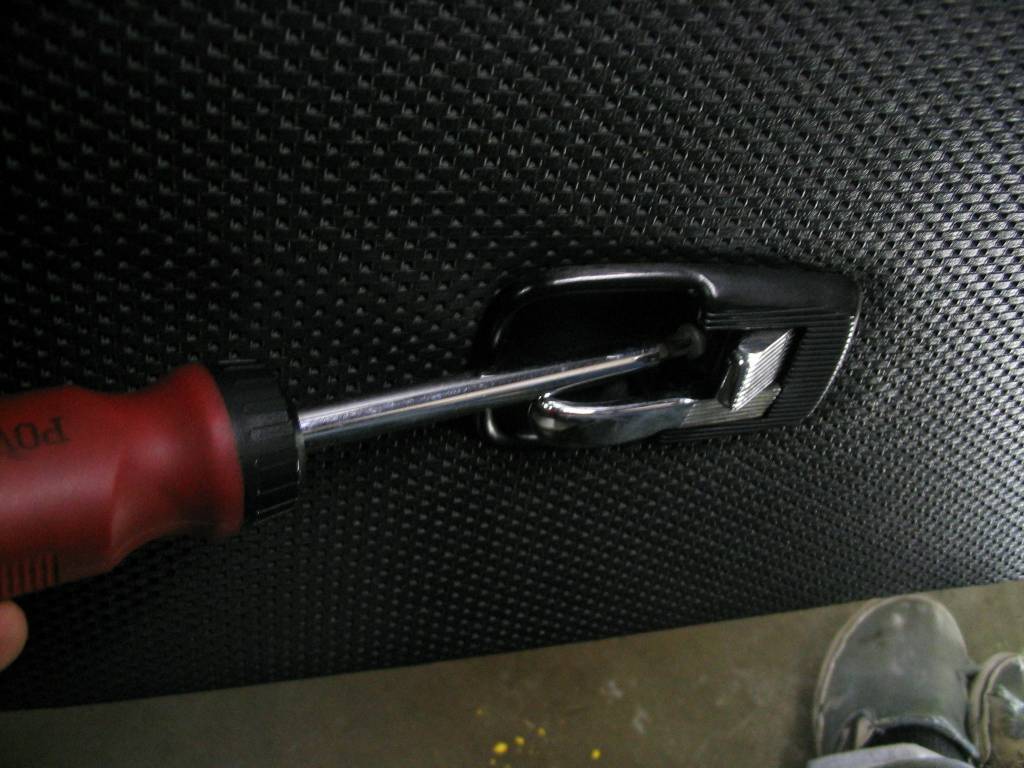
Remove the securing screw that holds the inside door handle surround:
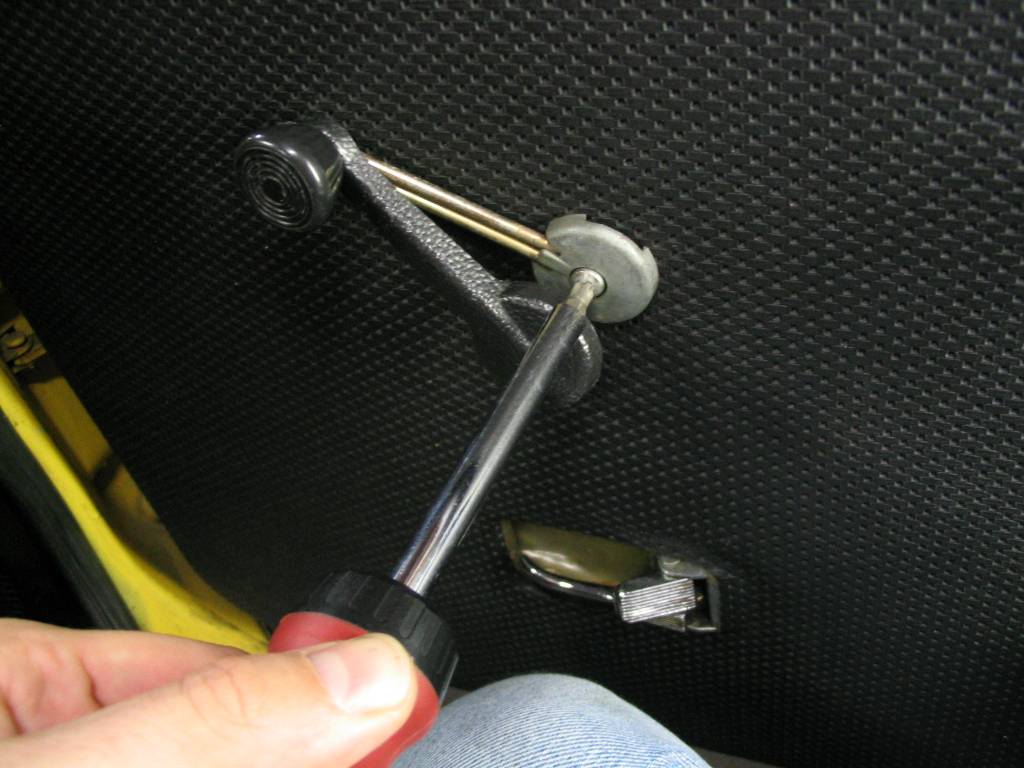
After removing the door handle surround, pry the the cover off the window crank and remove the securing screw. The handle will pull straight out and off the splined shaft:
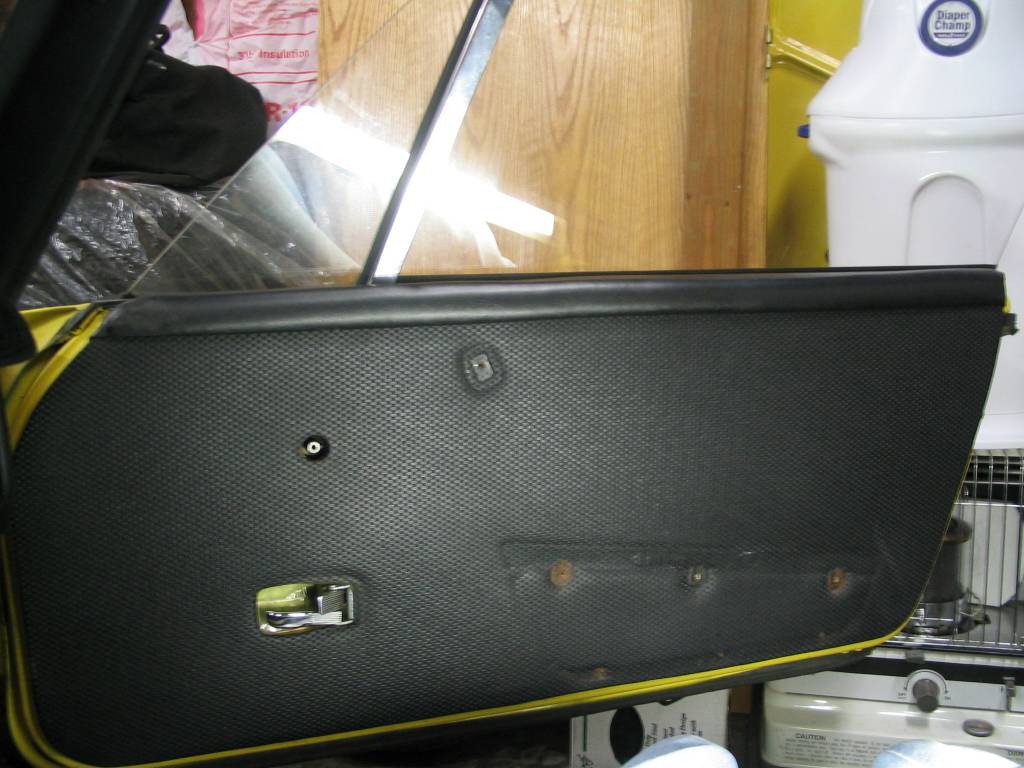
Remove the three screws that help hold the lower arm rest to the door. These screws also hold the bottom of the panel to the door:
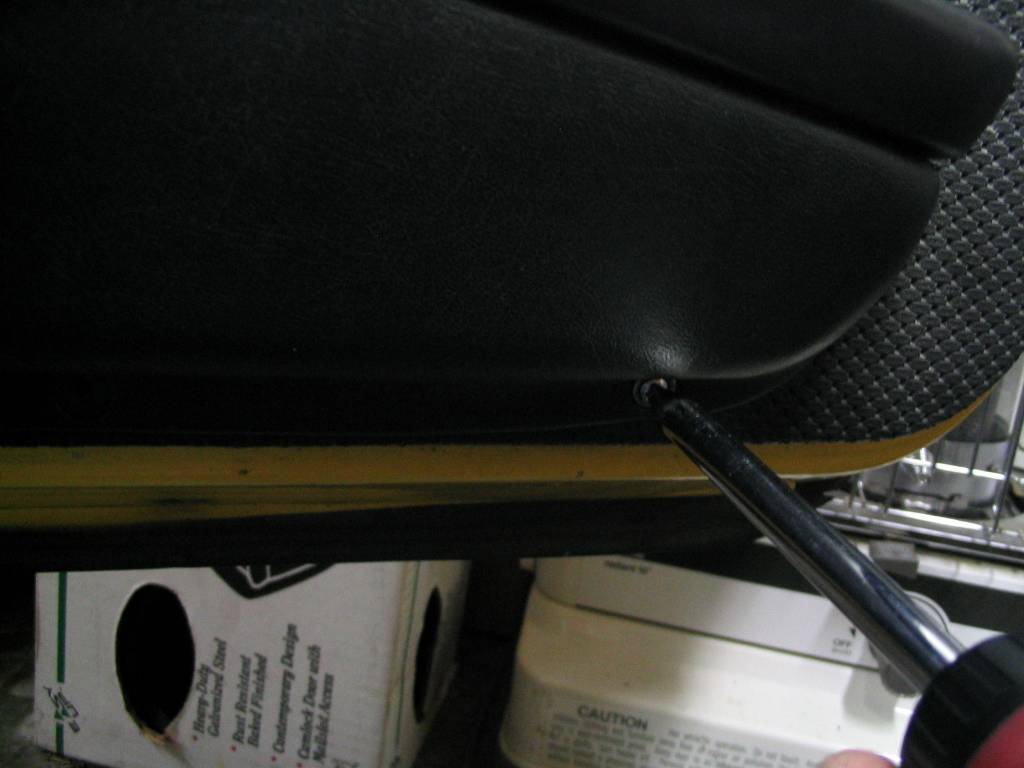
Grasp the lower section and push it forward, then down:
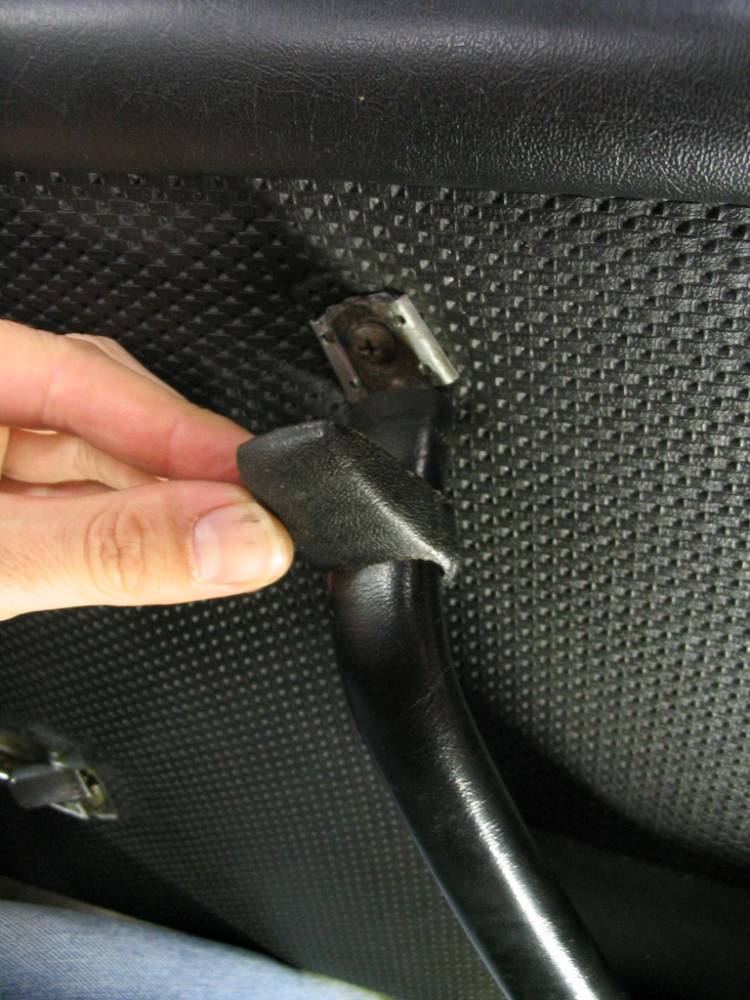
Pull the cover back from the upper door pull handle and remove the screw:
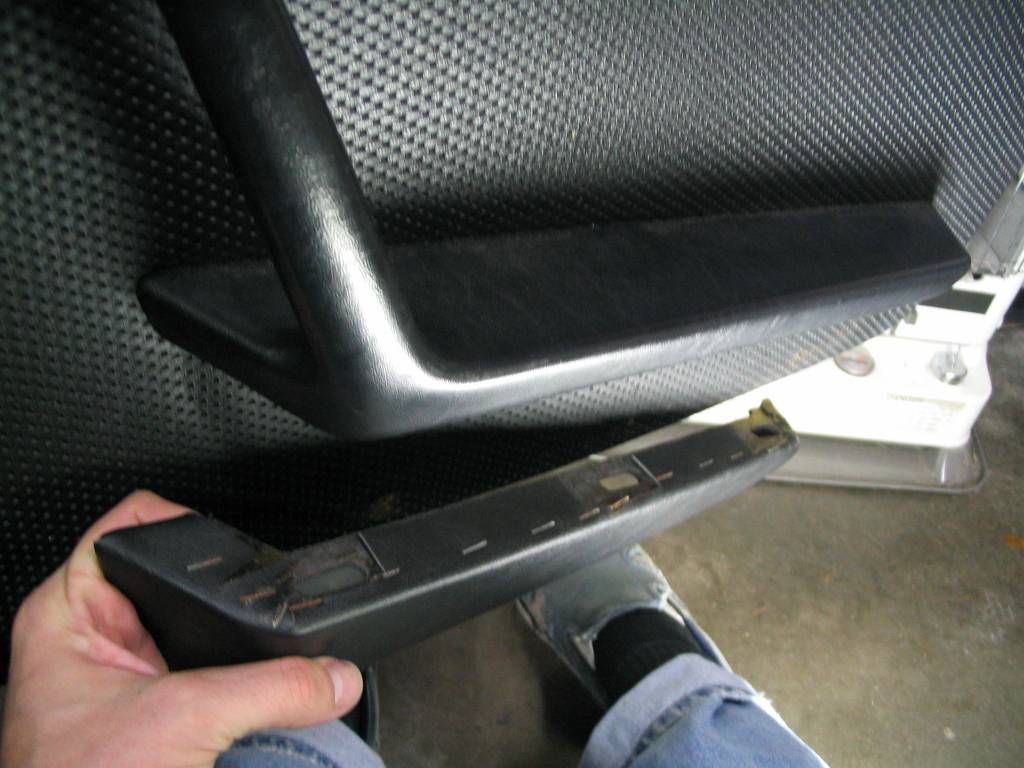
It's not necessary to remove the three lower bolts from the arm rest. I did it to my panel and have included it here just for grins:
This is the door panel, ready for removal:
Grasp the side and bottom edges of the panel and carefully pull them towards you. You will hear a popping sound as the panel
clips come free from the door:
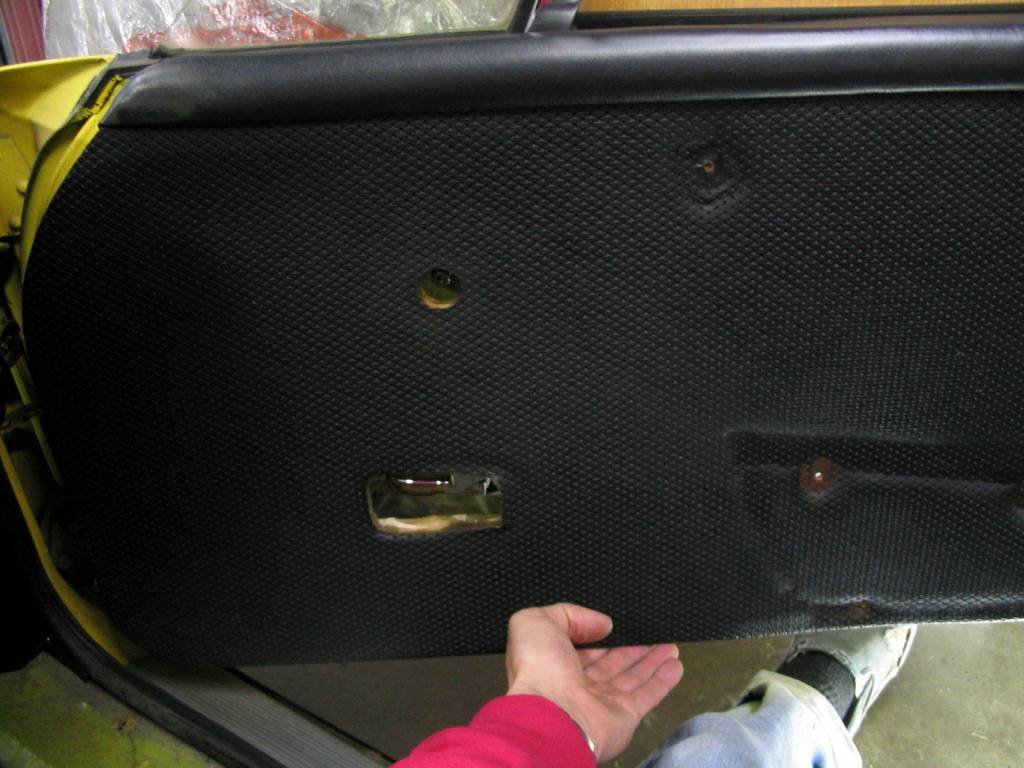
Once the panel clips are free simply lift the panel up a couple inches and it'll be free from the door:
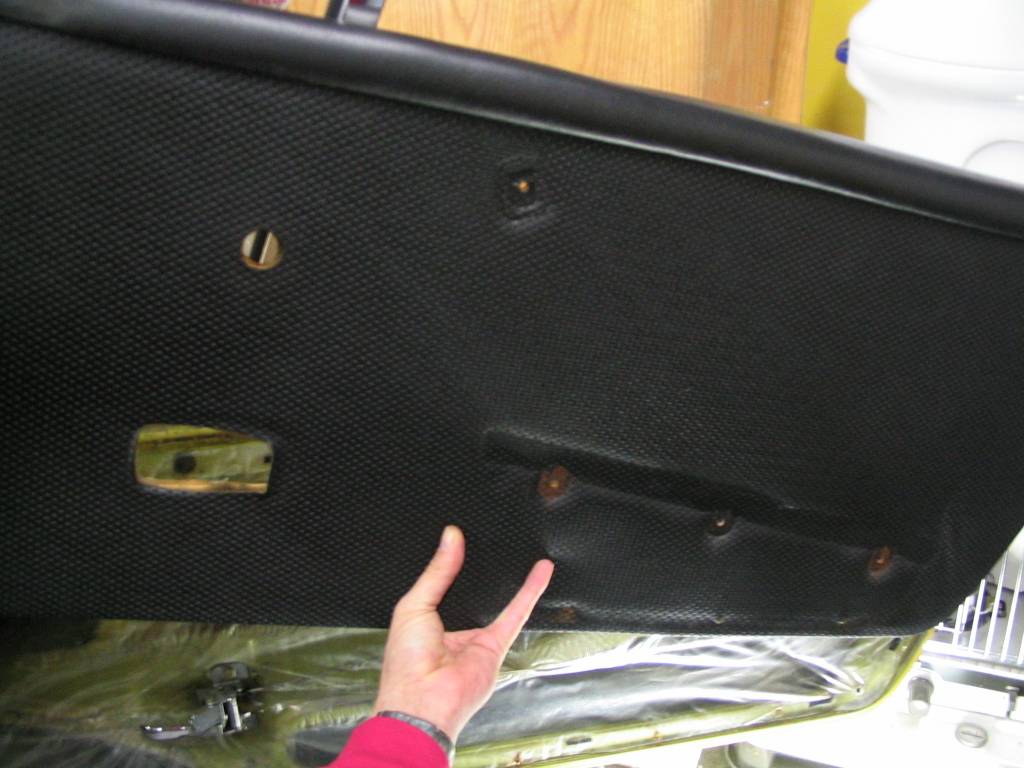
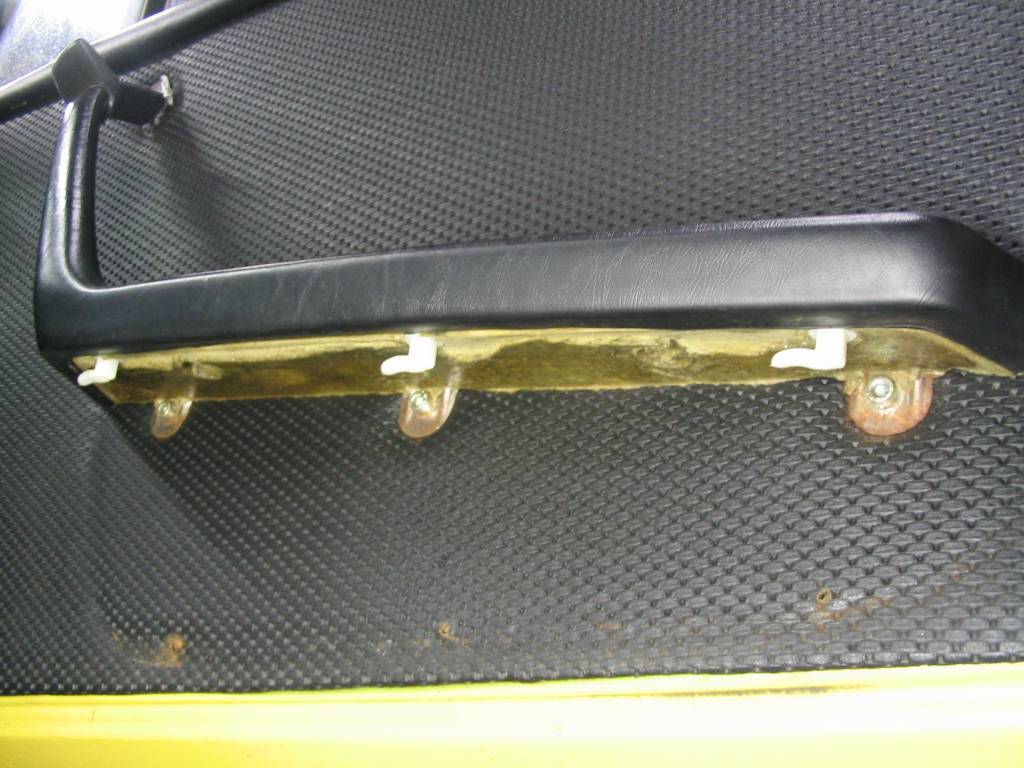
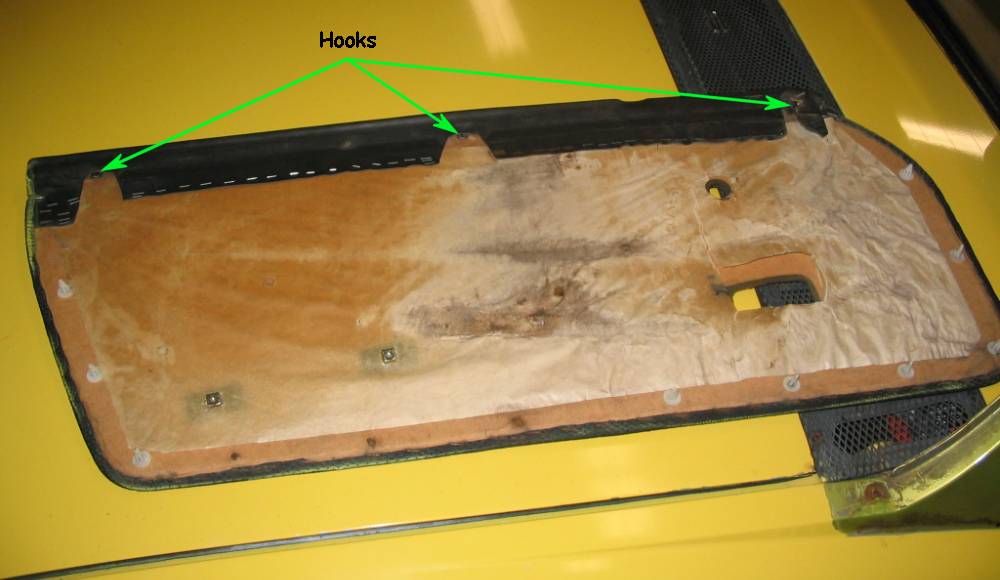
Here's the back side of the panel and I'm pointing to one of the plastic clips that hold the panel to the door:
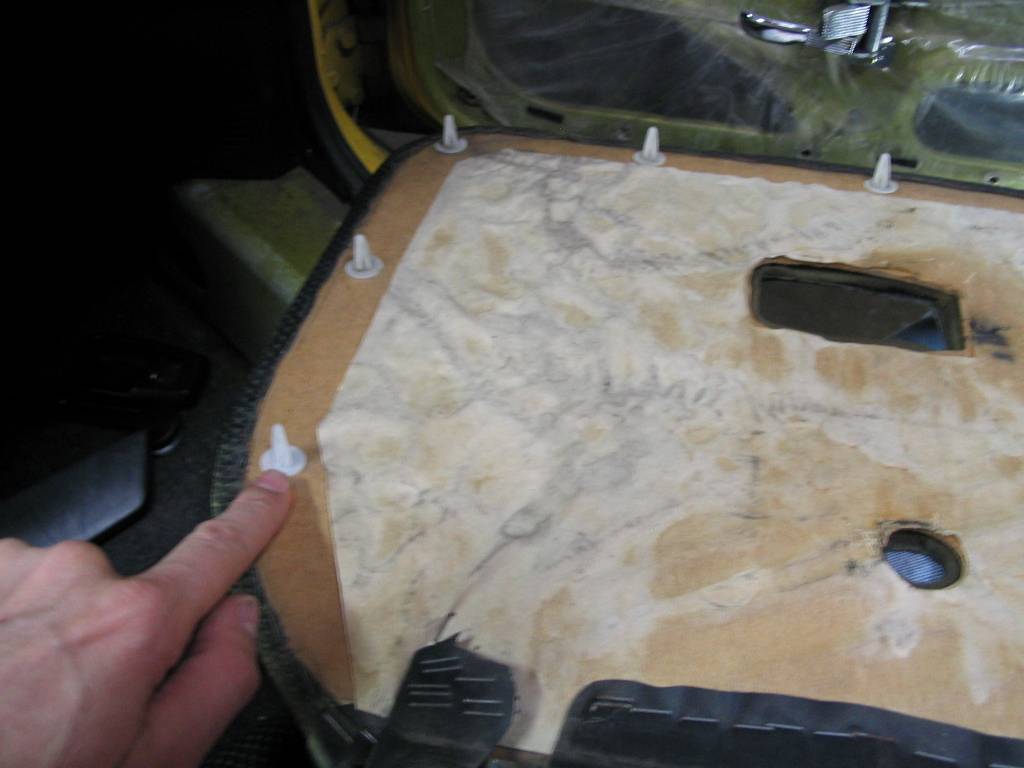
Carefully pull back the plastic water barrier. This is needed to help keep water away from the panel so don't rip it:
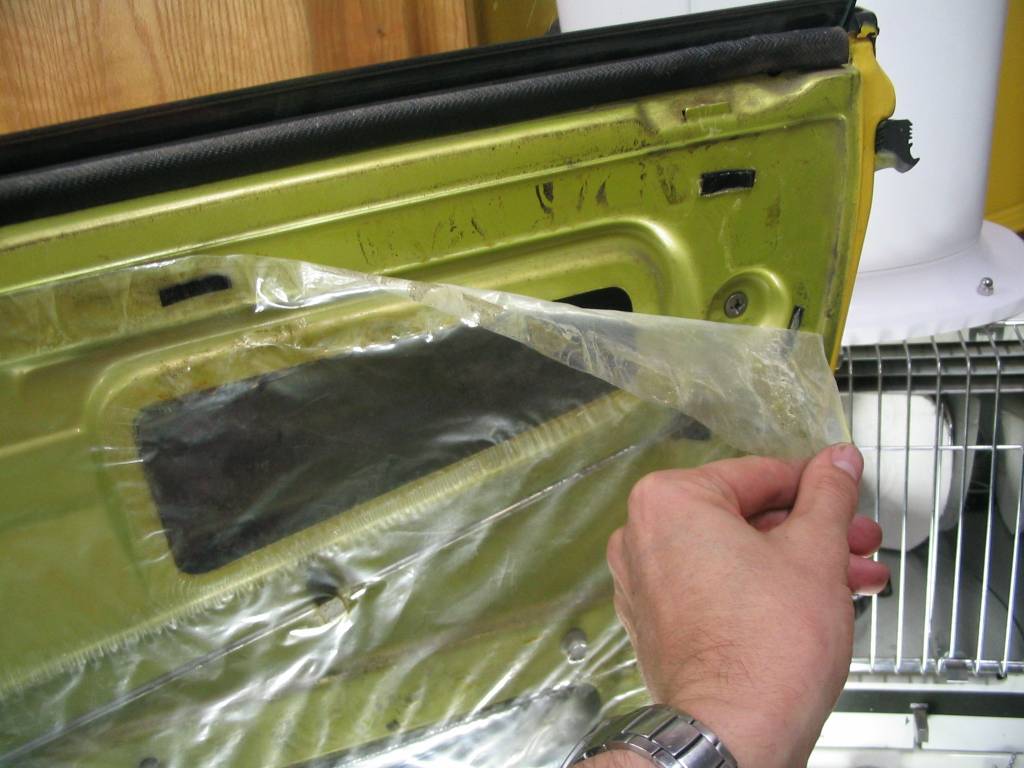
If you need to replace the plastic sheet you can use a heavy-duty garbage bag trimmed to fit the door. As you can
see here, the PO used strips of double-sided tape, however, you can use Gas-A-Cinch or Rubber Cement or any other
low-tack adhesive.
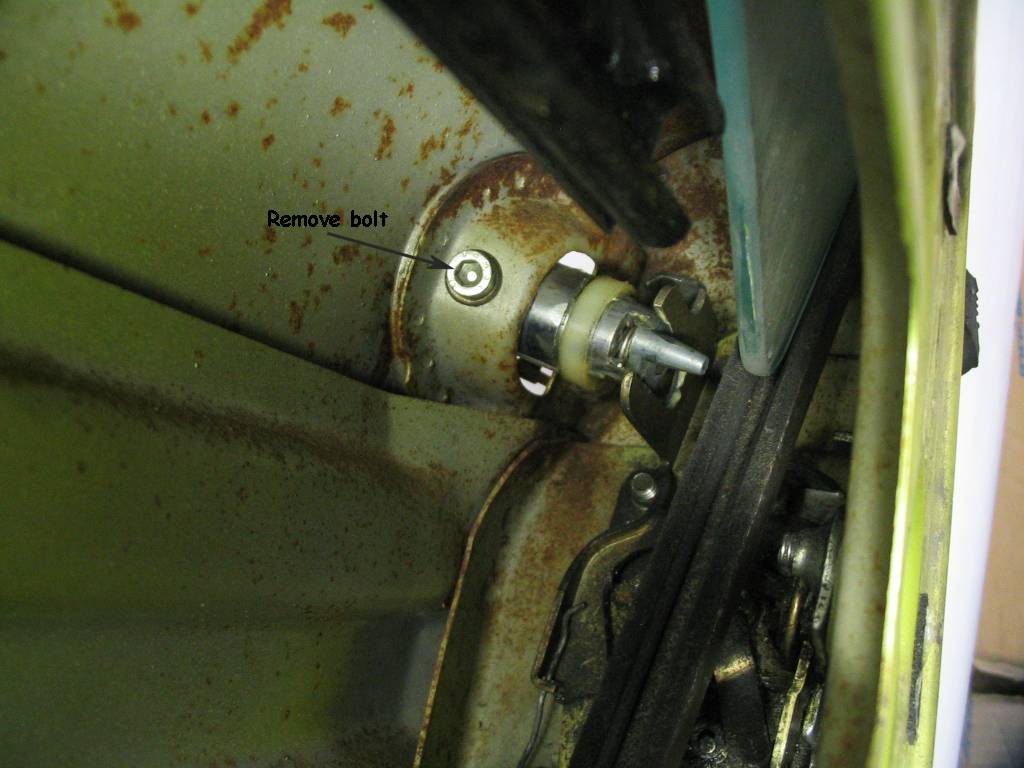
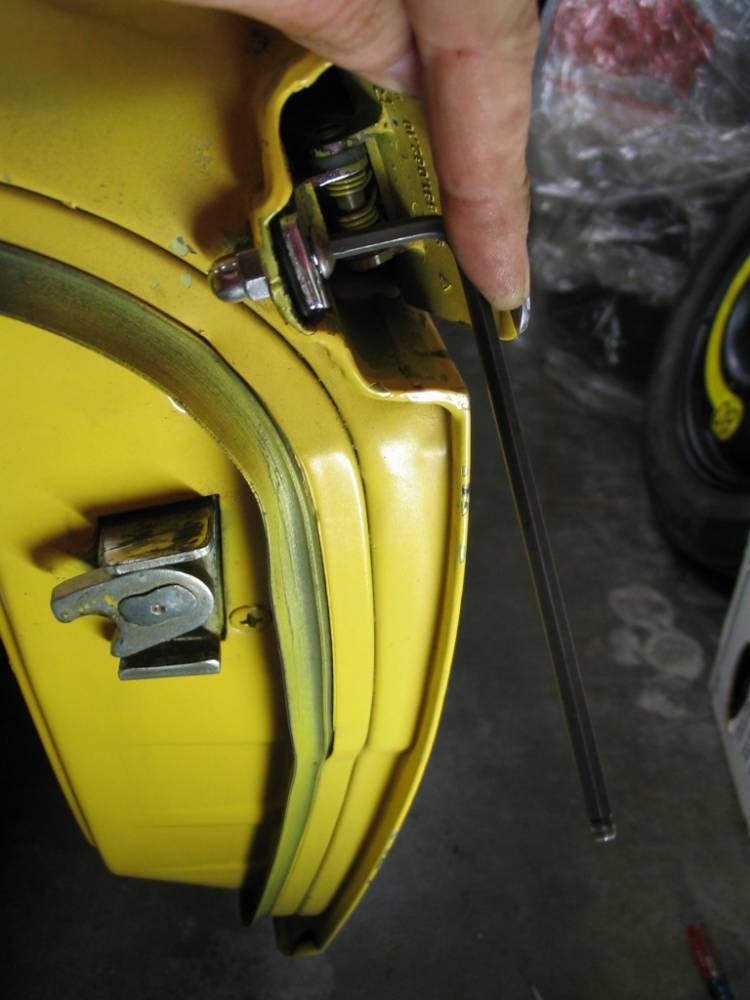
Look inside the door and to the rear. You'll see the other door handle securing bolt. Remove this and the outer door handle
will be ready for removal:
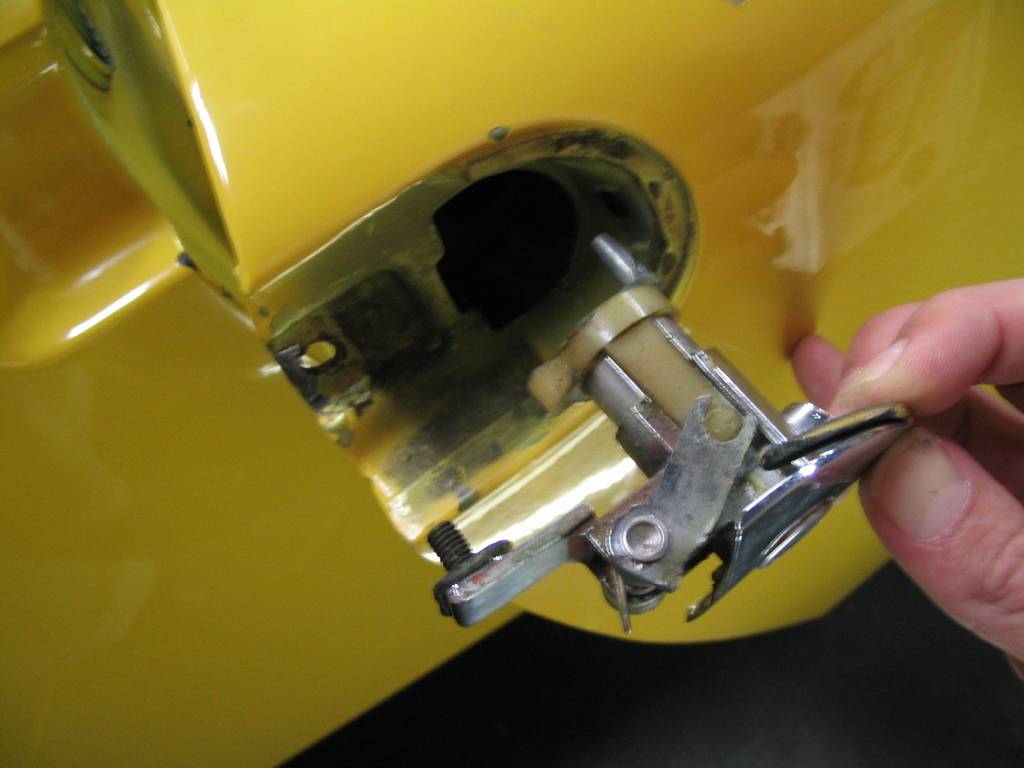
The door handle easily slips out:
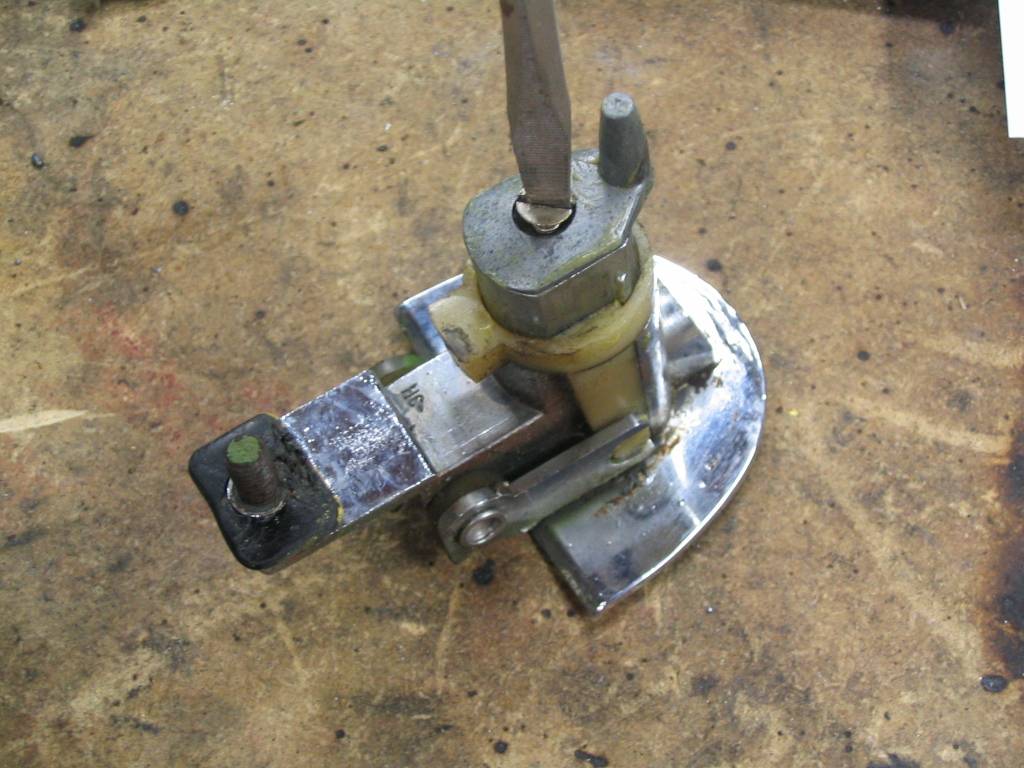
At the work bench, remove the securing screw from the back of the door handle and remove the door release cam:
Insert your key into the door handle; this allows the locking cylinder to be removed...
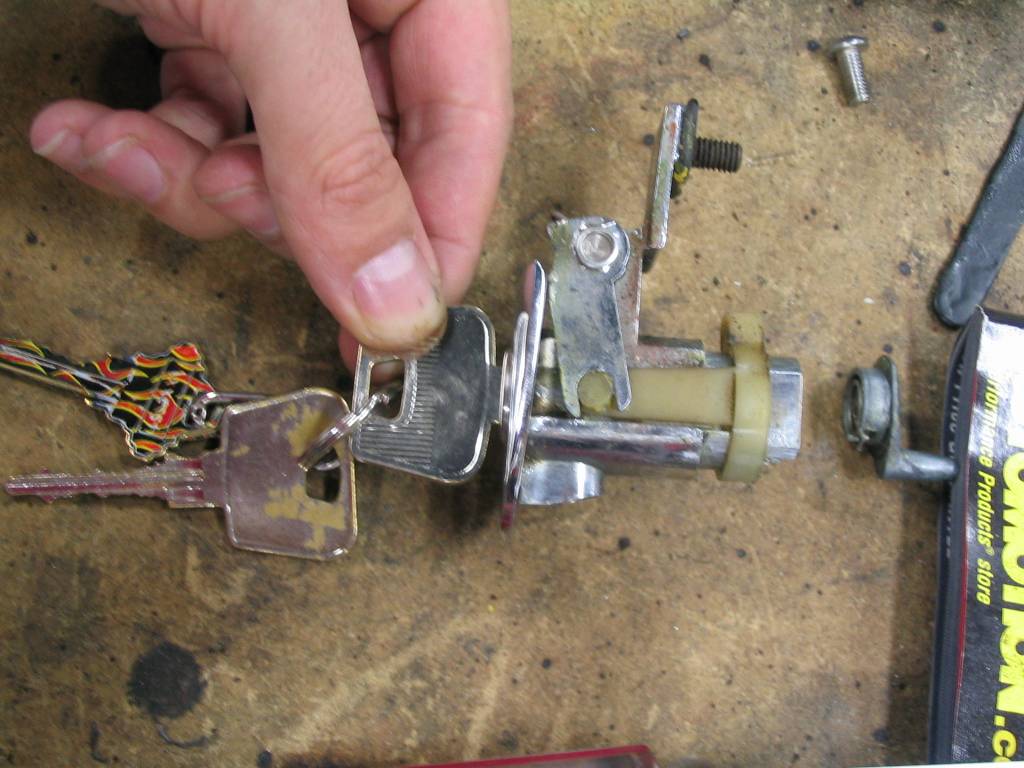
...which is simply done by pushing the lock cylinder out...
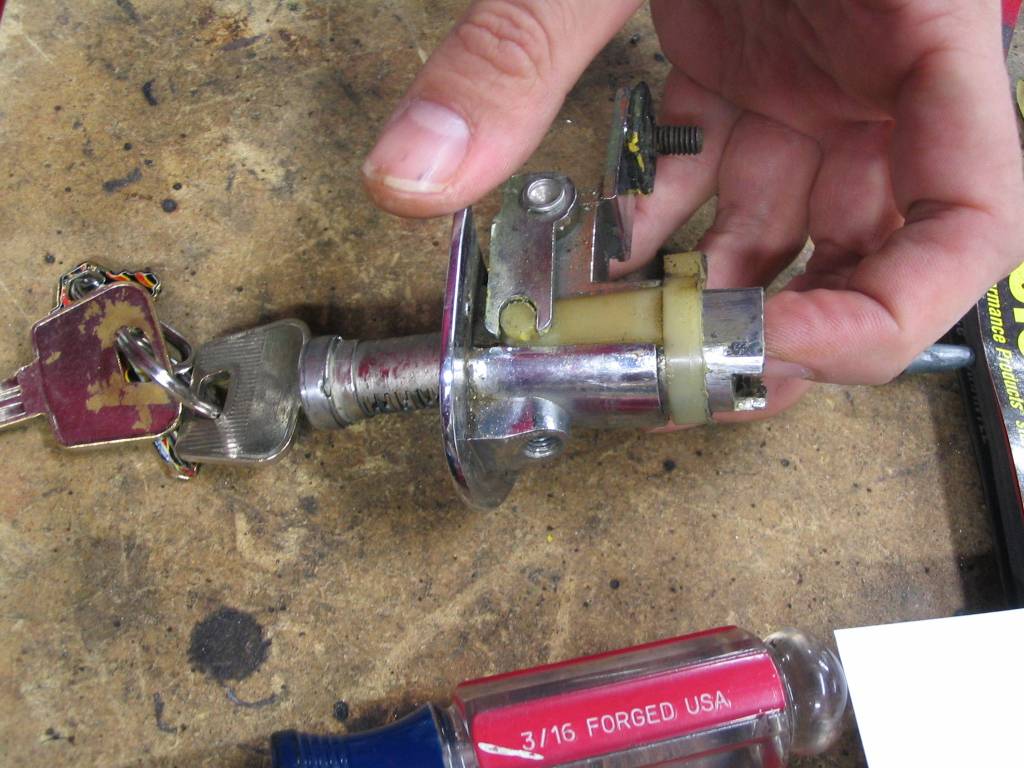
...just like this:

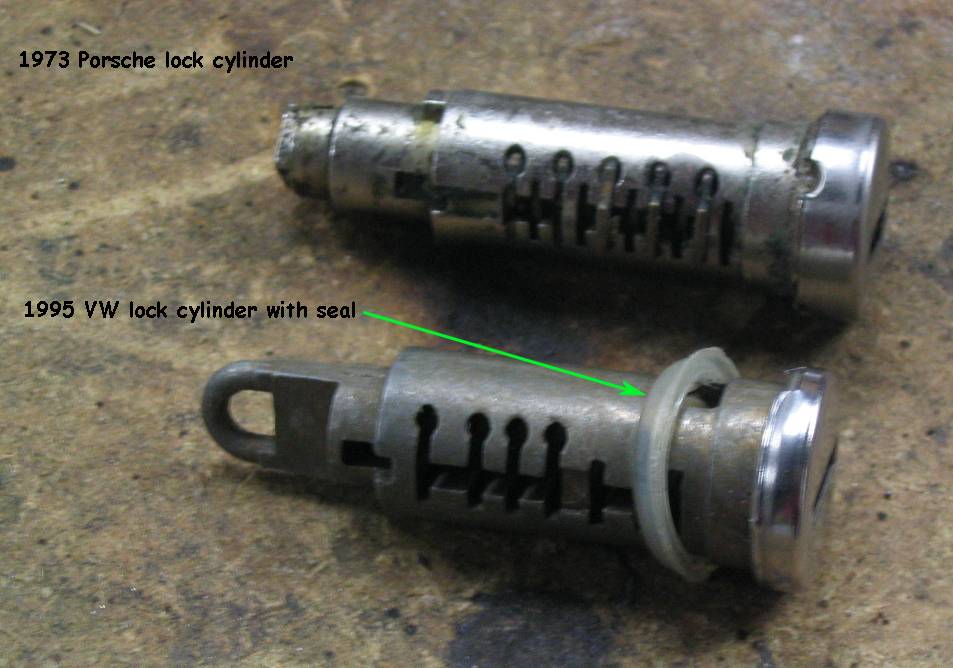
I removed the old lock cylinder from my replacement handle and this is what it looks like (nasty and old!):

Notice the orangish, broken plastic pieces there? That was the seal on my replacement lock cylinder. My broken door handle
didn't even have one! A trip to the Porsche dealership proved the seal is no longer available (imagine that) but since the
lock cylinder looks very much like my 1995 Jetta (a.k.a. a Mark 3) unit I decide to go across the street and visit my friendly
parts guy at the VW dealership. I couldn't get the seal by itself, it only came with the lock cylinder. So I plunked down $18.23
for part number 1HM-837-061-B and got a brand new, Mk.III lock cylinder with one brand new, Mk.III lock cylinder seal:
Clean the lock cylinder and then lubricate it well with graphite. Push the new seal onto the Porsche lock cylinder so the fatter edge is facing towards the key and thus the taper facing into the hole:
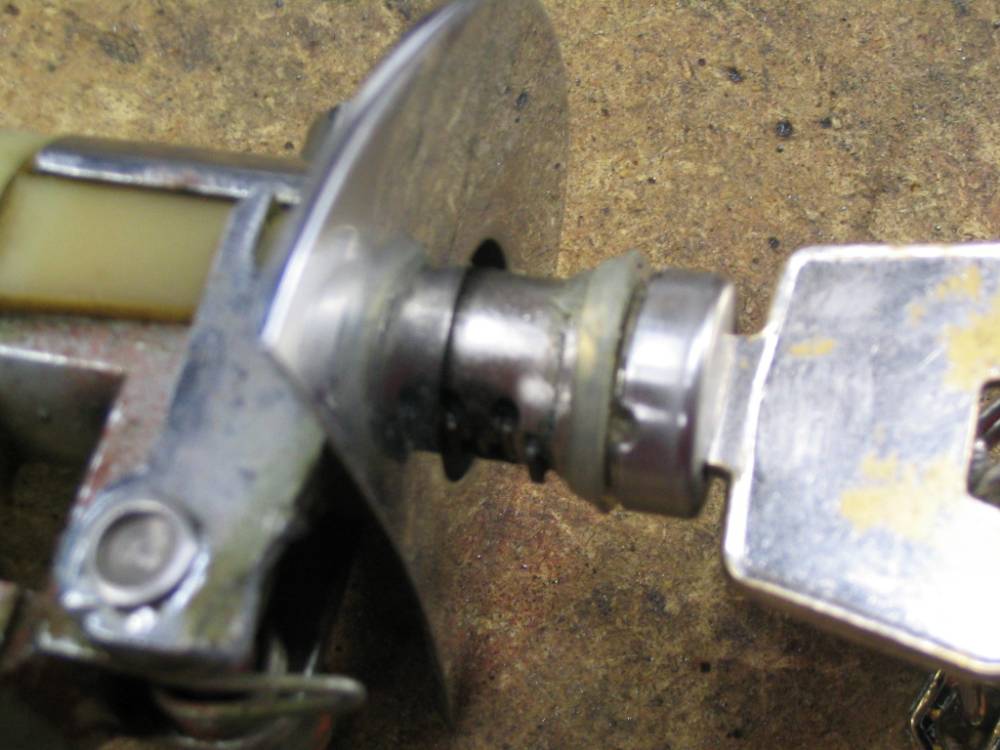
Push the lock cylinder into it's new hole and make sure its flush with the surface:
If the lock refuses to go in then it simply means you have it upside-down. Simply rotate the lock cylinder 180ş and reinsert.
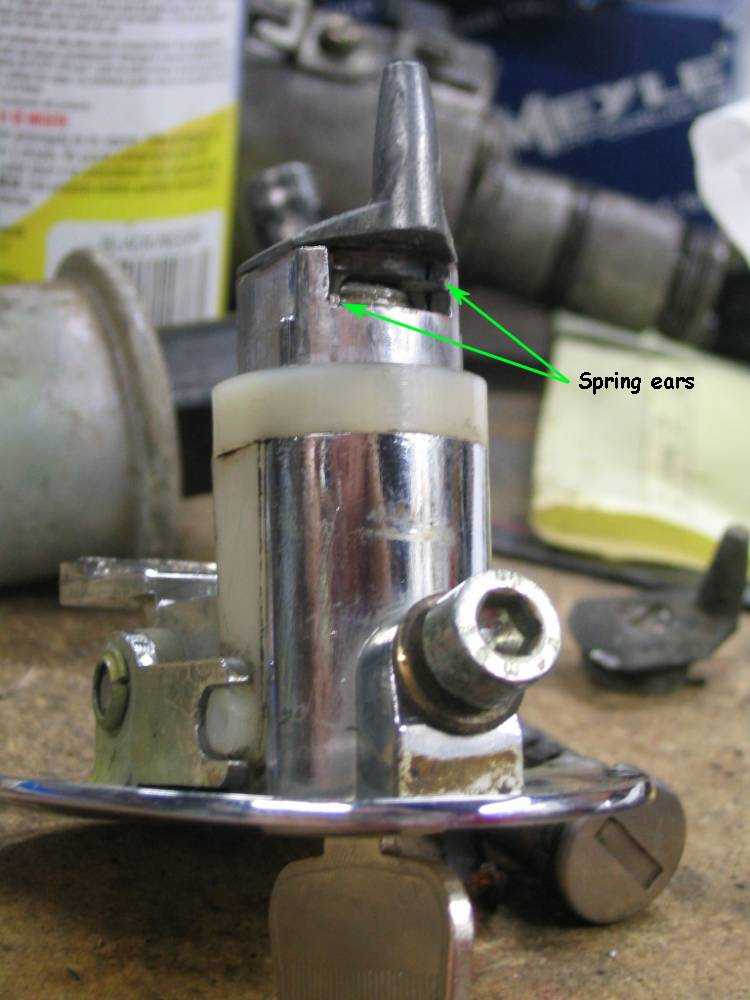
Screw the door latch release cam back on. If the spring came out, place it back inside the cam and place the spring ears on the
sides of the U-shaped landing as shown in the picture:
The replacement handle is on the left and ready to go:

Did you notice the missing stud on the back of the handle? Well, my replacement one was loose and just rotated in its setting
and the welds wouldn't hold to the handle...doh!...not steel. Maybe could've brazed it but I didn't have my gas welder at home
so I simply used my cut-off wheel to cut off the stud then drilled the rest of it out, leaving roughly a 6mm hole.
Place the door handle back into the door, along with its seals, and bolt the rear of the handle back to the door. After that
secure the inner bolt. For my particular situation I used a stainless steel Allen button head bolt, washer and acorn nut to secure
the rear portion of my door handle:
Here's what it looks like close up:
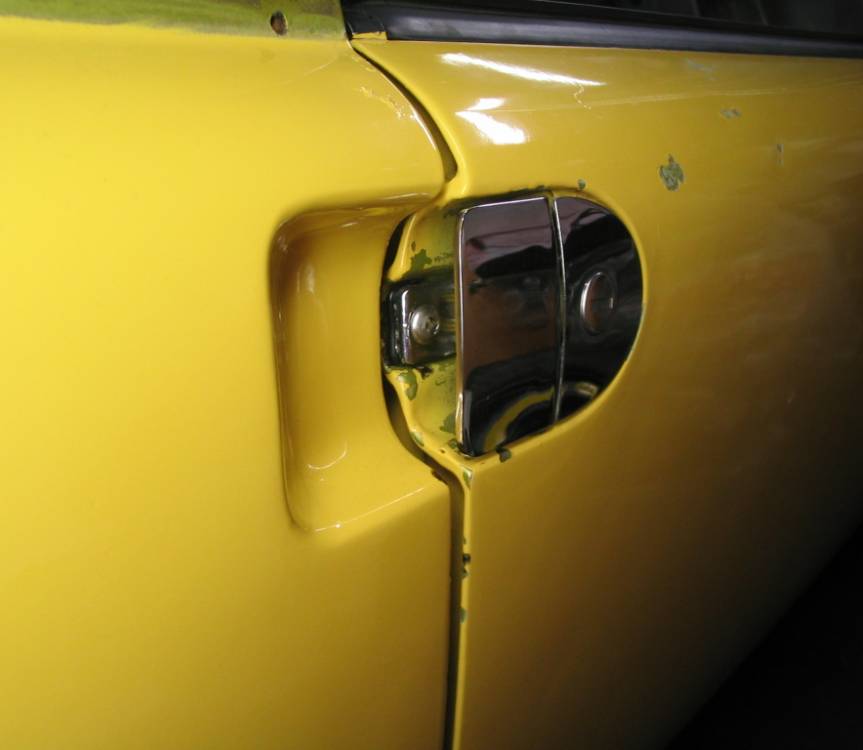
And from a distance:
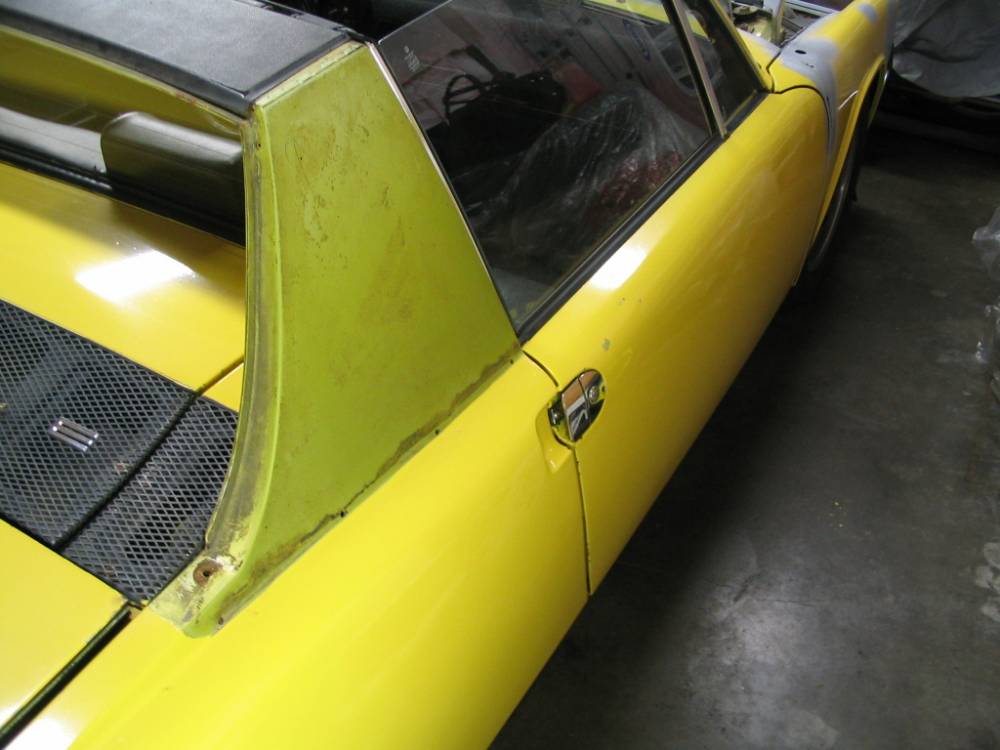
Unless you're looking for it, you wouldn't notice it!
Now you can put the door panel and parts back on the door. As you can see when you removed the panel, it was pretty easy, so
I won't waste any more web space explaining how to put all that back together...you know you can do it 
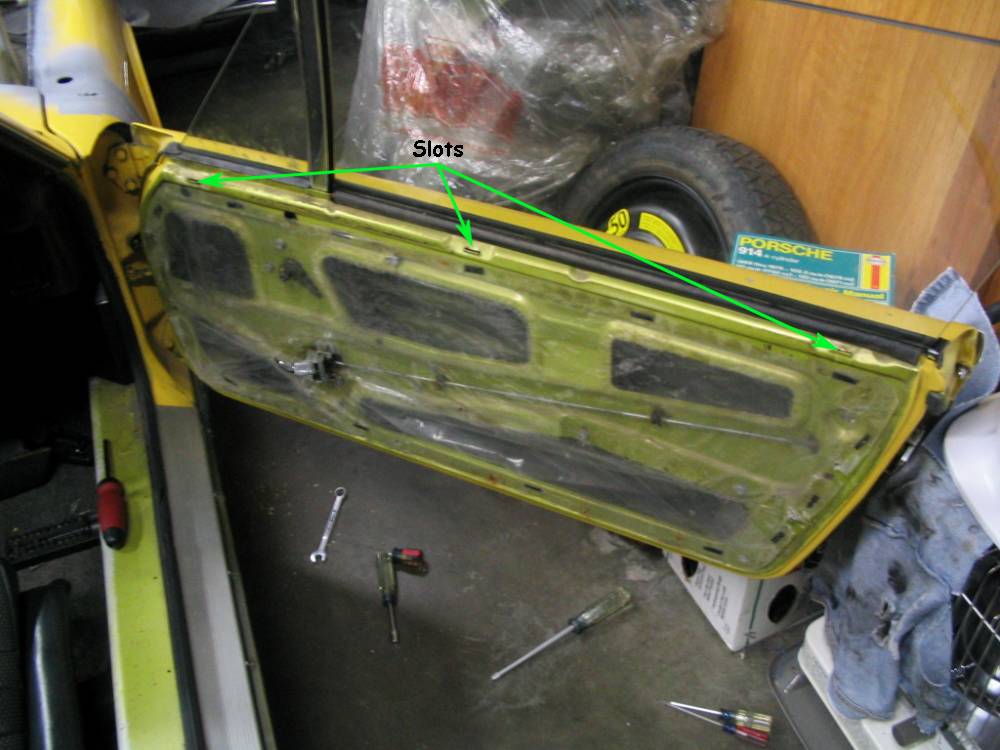
I would like to note that you should pay particular, careful attention to initially putting the door panel back on the door.
Note that there are three hooks on the door panel and they need to slip into the slots in the door. I found that applying some pressure
to the top pad on the panel helped put the panel hooks into their respecitve slots.
See how easy that was. Except for a couple of steps on removing the door panel, the driver's side is just as easy! Good luck!!
-- End of Document --