|
|
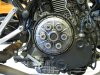
597 viewsThe original OEM clutch.
|
|
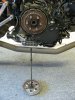
511 viewsUnscrew the bolts and remove the spring caps and springs. The pressure plate then pulls straight out and the push rod comes with it.
|
|
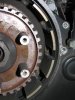
524 viewsClutch pack removed. See all those teeth marks? Yeah, that's how a clutch basket SHOULDN'T look! Very worn out.
|
|
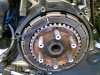
508 viewsI placed a friction plate back in to measure the gap. I had to use an Allen wrench: 2.5mm. Not good. Max gap is supposed to be no more than 0.6mm!
|
|
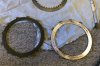
498 viewsThis is the outer-most friction plate and driven plate. The average thickness of the friction plates was ~2.8mm. They should be replaced if they are less than 3.2mm!
|
|

457 viewsThese are the inner-most plates. Only slightly less wear than the fronts.
|
|

492 viewsThe clutch stack. See how the left edge of the friction plate teeth are worn and hammered.
|
|

524 viewsAnother view of the same worn teeth.
|
|

536 viewsThe springs should be no less than 41mm. Mine were at 36mm!
|
|

500 viewsI used a 5/8" socket to support the bearing so I could drive out the push rod.
|
|

493 viewsHow it looks using a vice. The push rod is free to move as the socket is resting on the vice clamps.
|
|

509 viewsUse a drift to tap out the push rod.
|
|

510 viewsThe end result, push rod out.
|
|
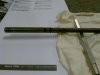
501 viewsWhile I was "in there" I decided to change out the O-rings at the other end of the push rod.
|
|
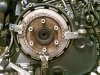
526 viewsSince I wouldn't be using any of my original plates I used one as a lock to hold the clutch drum so I could remove the center retaining bolt.
|
|
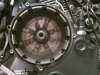
509 viewsHere's how the clutch basket looked. Those streaks are LOTS of thread locker applied at the factory. It leaked out the back side as well. After removing the eight retaining bolts I had to use a drift and tap a couple of the ears on the basket to gently break it free.
|
|
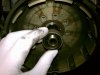
517 viewsRemoving the spacer.
|
|
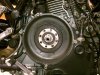
529 viewsEmpty clutch housing, ready for the new unit.
|
|
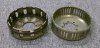
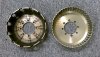
527 viewsOEM 12T on the left, EVR 48T on the right.
|
|
534 views
|
|
|
|




