 Last additions Last additions |

353 viewsOct 16, 2005
|
|

351 viewsTake the very top cover off and this is what lies below.Oct 16, 2005
|
|

317 viewsOct 16, 2005
|
|

346 viewsBad picture of how the flap stop goes back in. Pieces curve away from each other.Oct 16, 2005
|
|

334 viewsInternal fuel filter positioning.Oct 16, 2005
|
|

337 viewsTake the middle section off and we see this.Oct 16, 2005
|
|
365 viewsOct 16, 2005
|
|
376 viewsOct 16, 2005
|
|
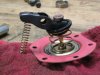
353 viewsHow the pump assembly looks "inside".Oct 16, 2005
|
|
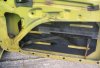
432 viewsInsert winding mechanisim, lower glass a little, and slide locating spring into lifter channel (wire brush just used to hold window up for picture). Bolt winding mechanisim back to door. Replace everything, including the important vapor barrier (plastic sheet) as this protects the door card from water damage!Oct 16, 2005
|
|
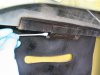
436 viewsI used a Q-Tip to assist greasing the whole lifter channel.Oct 16, 2005
|
|
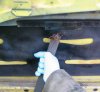
458 viewsEither slide the arm out from the bracket or slightly pull down and towards you to release from lifter channel.Oct 16, 2005
|
|
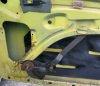
419 viewsBring winding mechanisim down and keep window glass up.Oct 16, 2005
|
|
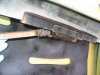
425 viewsUsing a wire brush to clean the channel.Oct 16, 2005
|
|
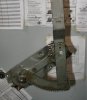
433 viewsClose-up of back side.Oct 16, 2005
|
|
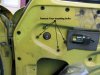
407 viewsRemove window crank, door handle release trim (escutcheon), door card (panel) and remove vapor barrier. Remove the four shown bolts with a 10mm wrench.Oct 16, 2005
|
|
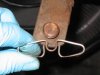
415 viewsRemove locating spring and wire brush area -- and spring -- clean. Lubricate with grease.Oct 16, 2005
|
|
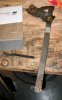
462 viewsWhat the window lifter looks like with locating spring attached at bottom.Oct 16, 2005
|
|
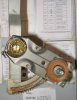
406 viewsClose-up of front side.Oct 16, 2005
|
|
376 viewsAll done and ready for use!Oct 16, 2005
|
|
| 3332 files on 167 page(s) |
 |
152 | |
|





