 Last additions Last additions |
776 viewsSep 11, 2010
|
|
1109 viewsSep 11, 2010
|
|
899 viewsSep 11, 2010
|
|
1111 viewsSep 11, 2010
|
|
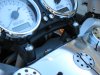
1006 viewsSep 11, 2010
|
|
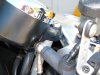
1024 viewsSep 11, 2010
|
|

After...1104 viewsNow the gauge faces upward a little bit more thus allowing the rider (me) to view them better. A more direct, heads-on view.Sep 11, 2010
|
|
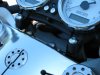
1113 viewsGauges mounted to the lowering brackets.Sep 11, 2010
|
|
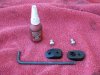
The necessary bits1075 viewsThe two black oval pieces are the lowering mounts. A 4mm Allen head wrench is for the shown M6 x 1.00 x 12mm stainless steel screws and, of course, thread locker.Sep 11, 2010
|
|
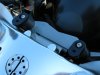
1130 viewsLowering brackets mounted to the bike.Sep 11, 2010
|
|
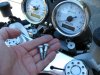
1097 viewsRemove the stock bolts using a 5mm Allen wrench. Keep the stock bolts because you use them to remount the gauges to the lowering brackets.Sep 11, 2010
|
|
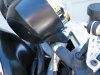
899 viewsSep 11, 2010
|
|
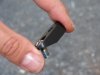
1125 viewsThe smaller screw in place and with thread locker applied.Sep 11, 2010
|
|
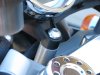
Stock mountings1009 viewsSep 11, 2010
|
|
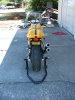
753 viewsSep 11, 2010
|
|
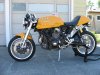
854 viewsSep 11, 2010
|
|
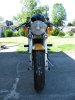
721 viewsSep 11, 2010
|
|

792 viewsSep 11, 2010
|
|

850 viewsRider's perspective. Notice that you can see the front of the gauge cups.Sep 11, 2010
|
|
Before...1032 viewsStock gauge position.Sep 11, 2010
|
|
| 3332 files on 167 page(s) |
 |
37 | |
|





