 Last additions - Type 3 Last additions - Type 3 |
402 viewsOct 16, 2005
|
|
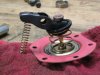
384 viewsHow the pump assembly looks "inside".Oct 16, 2005
|
|
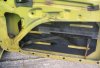
454 viewsInsert winding mechanisim, lower glass a little, and slide locating spring into lifter channel (wire brush just used to hold window up for picture). Bolt winding mechanisim back to door. Replace everything, including the important vapor barrier (plastic sheet) as this protects the door card from water damage!Oct 16, 2005
|
|
464 viewsI used a Q-Tip to assist greasing the whole lifter channel.Oct 16, 2005
|
|
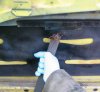
479 viewsEither slide the arm out from the bracket or slightly pull down and towards you to release from lifter channel.Oct 16, 2005
|
|
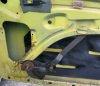
439 viewsBring winding mechanisim down and keep window glass up.Oct 16, 2005
|
|
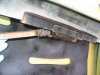
452 viewsUsing a wire brush to clean the channel.Oct 16, 2005
|
|
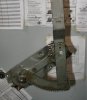
449 viewsClose-up of back side.Oct 16, 2005
|
|
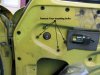
438 viewsRemove window crank, door handle release trim (escutcheon), door card (panel) and remove vapor barrier. Remove the four shown bolts with a 10mm wrench.Oct 16, 2005
|
|
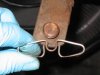
450 viewsRemove locating spring and wire brush area -- and spring -- clean. Lubricate with grease.Oct 16, 2005
|
|
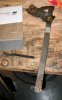
499 viewsWhat the window lifter looks like with locating spring attached at bottom.Oct 16, 2005
|
|
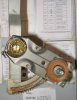
439 viewsClose-up of front side.Oct 16, 2005
|
|
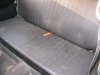
393 viewsAll done and ready for use!Oct 16, 2005
|
|
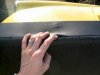
409 viewsSlit in back edge of seat where original pull strap came from. Pass the line through this slit.Oct 16, 2005
|
|
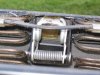
440 viewsUnderside of the seat. What the latch looks like. Under panel removed to show details.Oct 16, 2005
|
|
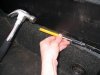
394 viewsDrift the hinge pins back in. Tap in with a hammer then use the drift to finish. When inserting or removing the hinge pins it's easiest to drift them in the direction of center-of-car to outside. Applying a thin coat of oil or grease helps insertion and operation of hinge.Oct 16, 2005
|
|
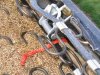
390 viewsLine pulled through. Original pull strap can be seen around latch. Typically the strap will break but leave the loop part intact.Oct 16, 2005
|
|
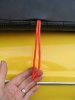
383 viewsPush line back through slit and tie off. I used a simple slip knot with this particular type of line.Oct 16, 2005
|
|
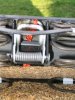
358 viewsIf the original strap loop is intact you can loop the line through it. In my case I decided to loop it through the loop and over the latch.Oct 16, 2005
|
|
895 viewsDrop the metal sleeve in...Oct 16, 2005
|
|
| 482 files on 25 page(s) |
 |
22 | |
|





