 Last additions - Zoom-zoom Last additions - Zoom-zoom |
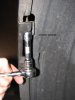
Mounting the LED array.533 viewsRemove the bolt that holds the bumper skin to the upper quarter panel (left side shown). It is above the two wheel well screws.Apr 01, 2012
|
|
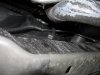
483 viewsFog harness using a hook on the right side radiator fan surround.Mar 10, 2012
|
|
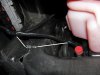
531 viewsWhere I zip-tied the left side of the harness. It comes down near the radiator over-flow container (the pink bottle). Don't use the aluminum object to the left, that's the heat-sink for the coils!Mar 10, 2012
|
|
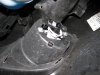
538 viewsRight fog bolted in.Mar 10, 2012
|
|
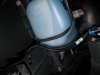
565 viewsFog wiring harness, right side, zip-tie location.Mar 10, 2012
|
|
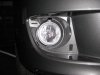
605 viewsRight fog light installed, front view. Note that adjusting screw is always at the top.Mar 10, 2012
|
|
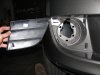
558 viewsStock fascia blank removed, right side. There are four hooks (one at each corner) that hold it in. After trying to be careful removing the right side, I said to hell with it and cut the tabs on the left side and threw away the blanks.Mar 10, 2012
|
|
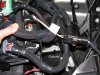
565 viewsAll wired up, fog harness plugged in & grounded, and the fuse box ready to be re-installed. I used a stock grounding point under the module per the Routan instructions. The Chrysler instructions show the ground attached to the negative battery cable.Mar 10, 2012
|
|
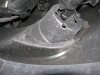
585 viewsBack side of the right fog light housing.Mar 10, 2012
|
|
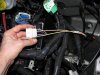
519 viewsHow it looks with the plug put all back together.Mar 10, 2012
|
|
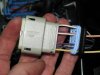
519 viewsHow it looks all wired up.Mar 10, 2012
|
|
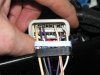
559 viewsWires snapped in place.Mar 10, 2012
|
|
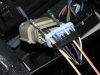
557 viewsFeed your pigtail wires in, white with yellow stripe on the left in the #16 hole and the white with orange stripe on the right in the #11 hole. The numbers are on the outside of the black plug.Mar 10, 2012
|
|
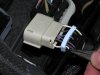
574 viewsUsing needle-nosed pliers remove the tits from inside the plug backing for the #16 and #11 holes. Don't remove the others as they fill the holes in the seal.Mar 10, 2012
|
|
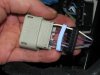
599 viewsSeparate the bottom plug (black) and the seal (light blue) within. You'll need to unwrap the black electrical tape on the wiring and throw it away. This will give you the needed slack in the wiring.Mar 10, 2012
|
|
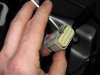
573 viewsNext, use a small screwdriver to lift the inner plug out. It only moves a few millimeters so you don't need to completely remove it!Mar 10, 2012
|
|
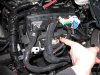
579 viewsHere's the plug to be modified. I found it unnecessary to remove ALL of the plugs per the instructions but you can. Remember to lift the red tab up to unlock the connector.Mar 10, 2012
|
|
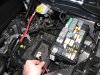
560 viewsTo make life MUCH easier just remove the battery. Also remove the positive power lead (red wire I'm holding) from the fuse box as well as the cover.Mar 10, 2012
|
|
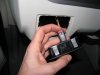
535 viewsNew light switch plugged in. See the red tab? It's in the 'unlocked' position...Mar 10, 2012
|
|

536 viewsNew fog-light equipped light switch. To operate simply push the dial in. Of course, you have to go to the *&$%! dealership to get it 'enabled'! Fogs automatically turn off when high beams are turned on, however, they remain on when using the "flash to pass" feature. Also, the 'system' remembers the position of the fogs so if you leave them on when you turn off the lights, they will automatically come back on when you turn the lights back on, including if you turn off the car.Mar 10, 2012
|
|
| 1529 files on 77 page(s) |
 |
16 | |
|





