 Last additions - Zoom-zoom Last additions - Zoom-zoom |
411 viewsAfter - Low beams and fogs, standing next to the B-pillar and looking forward.Feb 06, 2010
|
|
403 viewsAfter - Low beams.Feb 06, 2010
|
|
405 viewsAfter - Standing next to the B-pillar and looking forward.Feb 06, 2010
|
|
397 viewsAfter - Low beams.Feb 06, 2010
|
|
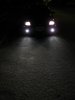
395 viewsBefore - Low beams and fogs, facing vehicle.Feb 06, 2010
|
|
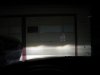
373 viewsBefore - Low beams with fogs.Feb 06, 2010
|
|
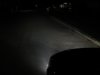
424 viewsBefore - Low beams and fogs, standing next to the B-pillar and looking forward.Feb 06, 2010
|
|
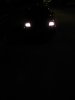
Before and after - facing vehicle384 viewsBefore - Low beams, facing vehicle.Feb 06, 2010
|
|
Before and after - against the garage door411 viewsBefore - Low beams.Feb 06, 2010
|
|
Before and after - street view421 viewsBefore - Low beams, standing next to the B-pillar and looking forward.Feb 06, 2010
|
|
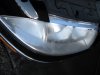
372 viewsBefore...Jan 23, 2010
|
|
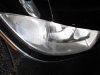
381 views...after.Jan 23, 2010
|
|
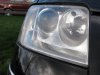
425 views...and after!Jan 23, 2010
|
|
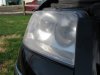
406 viewsRight headlight before...Jan 23, 2010
|
|
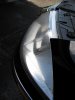
369 viewsBefore...Jan 23, 2010
|
|
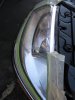
363 views...after first pad...Jan 23, 2010
|
|
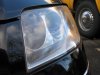
378 viewsTa-da! Big improvement. Neither one looked brand-new but they sure looked a LOT better after I was done. At least now you can see reflections in the plastic cover. You couldn't see them before.Jan 23, 2010
|
|
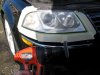
386 viewsPut tape around the headlamp to protect the paint. I initially used a battery-powered drill (pictured) but the battery was low on charge so I switched to my 6-amp drill. Locked the trigger on and started polishing. Very easy to do and I overlapped per the instructions, moving roughly a half-inch, back-n-forth across the headlamp then some lesser work on the turn signal area (it wasn't as badly pitted).Jan 23, 2010
|
|
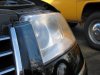
371 viewsLeft headlamp before. Lot's of abuse hitting that plastic!Jan 23, 2010
|
|
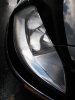
333 views...after second pad.Jan 23, 2010
|
|
| 1529 files on 77 page(s) |
 |
34 | |
|





