 Last additions - Zoom-zoom Last additions - Zoom-zoom |
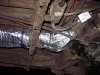
551 viewsView of the Y-section taken from the left side.Nov 05, 2008
|
|
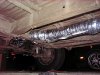
516 viewsNov 05, 2008
|
|
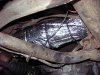
561 viewsThe right side fully wrapped with no problem. By the way, I'd recommend disconnecting the battery when working on the Y-section and back (like this part) as the insulation can conduct electricity and there is the starter chillin' out there, with it's +12v constant supply just waiting for some action ;-)Nov 05, 2008
|
|

446 viewsLeft heat exchanger accordion duct, looking forward. For some reason, the diameter was more than 16" so the wrap didn't fully cover it.Nov 05, 2008
|
|
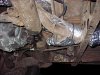
527 viewsI wasn't able to fully wrap this piece. It was a real pain to get the insulation on top of it. Since it is already insulated from the factory I didn't worry much about cutting up some insulation and wrapping the bottom. Maybe at a later date. Notice that I did put an 18" sheet across the top of the heat exchanger ducts that go over the torsion housing. What a pain in the neck! Trying to wrap this section wasn't worth it, with the tubes, guides, wires, and shifter parts all in the way -- very busy area!Nov 05, 2008
|
|
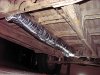
571 viewsLooking forward at the center section. I clipped off the stock duct zip-ties, wrapped the duct, and then zip-tied the duct back to the mounting points.Nov 05, 2008
|
|
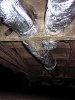
553 viewsThis is a view -- looking to the front of the Bus -- of the dreaded "Y" section where the heat exchanger ducts merge to the center tunnel duct.Nov 05, 2008
|
|
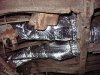
564 viewsSame duct, just took the picture from the left side of the Bus. Wrapping this duct is likely the most difficult of all the ducts so go slow and think. I know the pictures aren't a huge help but they give an idea. I'm sure there's more than one way to insulate this loop.Nov 05, 2008
|
|
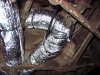
626 viewsI put a scrap piece of insulation (that I removed from the corner) under the split-loom to fully cover the duct.Nov 05, 2008
|
|
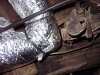
502 viewsNov 05, 2008
|
|
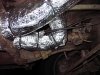
478 viewsNov 05, 2008
|
|
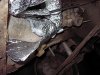
524 viewsThis picture and the next show that the corner is cut and folded onto itself. It's best to have over-lapping than a gap in the insulation.Nov 05, 2008
|
|
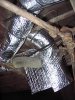
524 viewsNotice that I put a length of split-loom over the cable and wrapped the insulation over it. Again, the split-loom keep the cable from cutting into the insulation.Nov 05, 2008
|
|
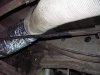
560 viewsWhere it ends. Give or take several inches :-)Nov 05, 2008
|
|
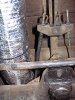
557 viewsUse a split-seam wire loom around the e-brake cable to keep it from rubbing a groove into the insulation.Nov 05, 2008
|
|
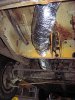
542 views...but now it is!Nov 05, 2008
|
|
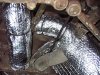
555 viewsThis next sequence shows how I insulated the loop that feeds the main cabin (as opposed to the section that feeds the driver's cabin). Put an 18" rectangle of the insulation above the duct, cut a slit, and wrap the duct that feeds the cabin. Thus, I worked backwards, insulating the right arm of the Y-duct last (if laying on your back and looking up).Nov 05, 2008
|
|
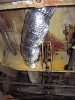
614 viewsUnder the pedal area. The section behind it isn't insulated yet...Nov 05, 2008
|
|
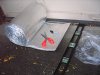
577 viewsMeasure the length needed to be wrapped, add 1/2" to 1" extra, and cut with ordinary scissors. The wrap I used was 16" and it worked well to wrap the circumference of the duct with a little over-lap. Put the over-lap seam down so if water should get in, it will drain out. I had 11" and 8" zip-ties so I used them together to hold the wrap. Snug it down until it just dimples the insulation; don't reef down on it and over-tighten it!Nov 05, 2008
|
|
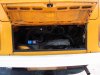
421 viewsBone stock, 2.0L, Type IV, L-Jetronic fuel injected engine. Strong engine and has more power than people think. I'm always passing people!Sep 03, 2008
|
|
| 1529 files on 77 page(s) |
 |
36 | |
|





