 Most viewed - LED front parking light Most viewed - LED front parking light |

Day-time, parking lamp only530 viewsComparison of the two bulbs. On the left is the standard incandescent and on the right is the LED unit.
|
|
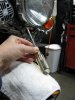
492 viewsUse a Phillips screwdriver to remove the retaining screw at the bottom of the headlamp. No need to completely remove the screw, just until it becomes loose & wobbly.
|
|
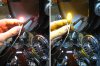
In the raw comparison476 viewsComparison of the two bulbs. On the left is the standard incandescent and on the right is the LED unit.
|
|
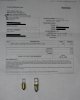
475 viewsComparison of the incandescent bulb (left) and the LED replacement (right).
|
|
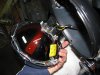
463 viewsThe headlamp exposed. Pretty darn simple in there.
|
|
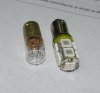
462 viewsClose-up comparison of the incandescent bulb (left) and the LED replacement (right).
|
|
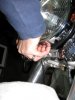
Fingernails help here.461 viewsPut your fingers between the headlamp bucket and the chrome headlamp ring and pull the bottom of the headlamp out. It only needs to travel a centimeter or two for it to be free. Unhook the top and carefully lay the headlamp on the fluffy towel you placed on the fender (that's a hint).
|
|
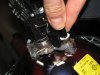
459 viewsThe parking lamp simply pulls straight out. It's a friction-fit retention assembly.
|
|
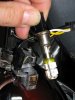
458 viewsHere's the LED replacement, ready for use.
|
|

450 viewsThe stock incandescent bulb. Boooo!
|
|

450 viewsThis shows where the retaining clip will rest. Simply put the top of the headlamp ring on the lip of the headlamp bucket and pivot the bottom section down. Make sure the retaining clip fits inside the bottom of the headlamp bucket and then gently push the bottom of the headlamp towards the bike body. Snug retaining screw to secure headlamp but don't over-tighten!
|
|

447 viewsThough you can watch the video here, it's awfully big so I suggest going to my YouTube page here: http://www.youtube.com/watch?v=ozZp4sLwWhA
|
|
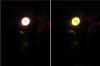
Night-time, parking lamp only440 viewsComparison of the two bulbs in the dark. On the left is the standard incandescent and on the right is the LED unit.
|
|
|
|
|
|
|



