 Most viewed - Hi-rise clip-ons install Most viewed - Hi-rise clip-ons install |
...after (hi-rise clip-ons).682 views
|
|

Before (stock clip-ons)...663 views
|
|
Before...615 views
|
|
...after.611 views
|
|

Before...527 views
|
|
527 viewsHi-riser is slipped on the fork tube and here is the bar in stock form.
|
|

523 viewsUpper triple tree removed. Use a 6mm Allen wrench to loosen all clamping bolts. Alternately tap the bottom of the clip-ons to walk the triple tree and clip-ons up. I used a block of wood positioned under the clip-on and tapped it with a rubber mallet -- just in case I missed the wood!
|
|
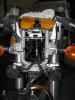
522 viewsThe view of the installed ladder and hi-risers. Headlight goes back on and the gauge cluster and I'm ready to ride a little more comfortably.
|
|
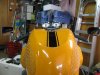
Before...520 views
|
|

520 viewsDetail of the top triple tree with stock clip-ons.
|
|
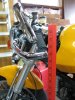
Before...517 viewsYard stick shows 32" at bar-end mirror mount.
|
|
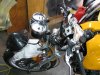
516 viewsIn order to remove the upper triple-tree the headlight needs to be removed and then the U-shaped ladder part that the headlight attaches to is then removed. Remove the two nuts at the bottom of the ladder then lift it up. Also, disconnect the headlight connector and put the headlight out of the way.
|
|

507 viewsNow the bar-end mount is up two inches at 34" high.
|
|
...after.507 views
|
|

505 viewsMy fingers are pointing to the two pins that fit into the two rubber grommets that are part of the upper triple tree (visible in the foreground).
|
|
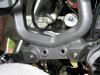
505 viewsDetail of the bottom of the unbolted ladder.
|
|
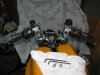
500 viewsHi-risers and controls installed, ready to put the bike back together.
|
|
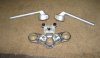
486 viewsJust a picture of the stock '06 clip-ons and the bottom side of the upper triple tree.
|
|

...after.484 viewsThe bottom of the switch is at 36".
|
|
481 viewsOther side of the right bar showing another locating hole.
|
|
|
|




