 Most viewed - Dry clutch change Most viewed - Dry clutch change |
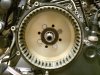
498 viewsNew basket placed within. Use 4 bolts, snugged in a star pattern, to seat the basket onto the hub.
|
|

496 viewsThe clutch stack. See how the left edge of the friction plate teeth are worn and hammered.
|
|
490 viewsAnd with mia ragazza herself.
|
|
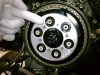
476 views...to mate with the notch in the one clutch spring post. I seriously don't think it matters but I tried to follow the workshop manual instructions as closely as I could, just in case.
|
|
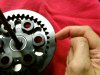
474 viewsI used the hole in the pressure plate...
|
|
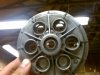
472 viewsOutside of OEM pressure plate, looking at the spring perches. See the light coming through? All but one of them had worn through.
|
|

468 views
|
|
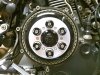
468 viewsVented EVR pressure plate mounted and springs/spring caps installed. In a star pattern, screw the bolts all the way down until they stop, THEN you continue the star pattern to torque them down. I placed the EVR logo at about the 4 o'clock position and then torqued the bolts, allowing the cap to rotate and thus line up neatly. It did take several tries.
|
|
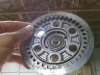
468 viewsSame thing, just a view from the back side.
|
|
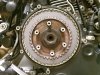
464 viewsClutch pack in!
|
|

457 viewsThese are the inner-most plates. Only slightly less wear than the fronts.
|
|
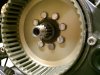
456 viewsNow remove the 4 bolts, apply thread locker, and install the 8 bolts according to the workshop manual. The local Ducati dealership said it would be perfectly fine to reuse the bolts. I had to hold the clutch basket and torque down the bolts...it was NOT easy! I had no tool to hold it. Next time I'll get a tool or hold the basket and have someone else torque the bolts. I originally removed the bolts with my air gun so there was no need to hold the OEM basket.
|
|
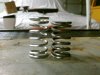
452 viewsHeight difference between the new stainless steel spring on the left and the tired steel OEM spring on the right.
|
|
|
|
|
|
|




