 Most viewed - Zoom-zoom Most viewed - Zoom-zoom |
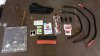
The kit725 viewsHere's everything that came in the kit -- WOW! Nicely stocked with everything one would need, including zip ties, nice large gloves, and various chemicals!
|
|
724 views
|
|

The TankSlapper body protection film723 viewsAfter shots of the TankSlapper protection film applied to the tank and my custom application around the ignition switch. 3M film applied to the headlight. The stuff WORKS and can't be seen over a couple feet away. I recommend this stuff to protect your ride!
|
|
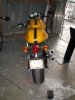
Stock tail721 views
|
|
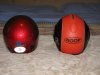
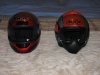
720 viewsChin bar in forward position.
|
|
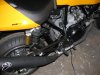
Biposto swingarm715 views2007 SportClassic 1000 that can accomodate a passenger.
|
|

714 views
|
|
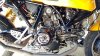
Completed!714 viewsMost people would be hard-pressed to notice the visual difference as I tried to keep the cabling routed along the OEM path. Mia ragazza does start quickly after riding her. Even on cold mornings with the lithium Shorai she cranks more quickly, not that slow chugging one gets with a lead-acid battery.
|
|
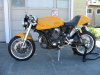
712 views
|
|
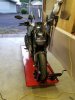
712 viewsMy Diavel Strada (cruiser-ish) clamped in without straps.
|
|
711 views
|
|
711 views
|
|
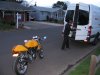
709 viewsThere she is.
|
|
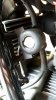
704 viewsThis is the starter relay with the OEM cables.
|
|
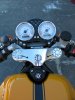
703 viewsRider's perspective.
|
|

703 viewsThe OEM setup. The red line is the stock power cable that comes from the battery to the relay, down the right side of the engine, and under the engine to the starter.
|
|

699 viewsThere are spacers in the gasket and they may come out with the bolt. No big deal, simply pull the spacer off the bolt and put it back into the gasket.
|
|
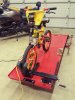
698 viewsWill even work for my son's bicycle :-)
|
|
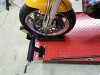
691 views
|
|
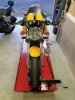
690 viewsSport bike clamped in without straps.
|
|
| 1529 files on 77 page(s) |
 |
12 | |
|





