 Most viewed - Zoom-zoom Most viewed - Zoom-zoom |
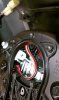
555 viewsI tucked the headlight connector into the middle left side of the headlight, below the white headlight adjustment mechanism. If you adjusted the headlight vertical adjustment earlier this is when you will want to return it back to its original position, rotating it clockwise.
|
|
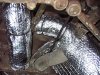
554 viewsThis next sequence shows how I insulated the loop that feeds the main cabin (as opposed to the section that feeds the driver's cabin). Put an 18" rectangle of the insulation above the duct, cut a slit, and wrap the duct that feeds the cabin. Thus, I worked backwards, insulating the right arm of the Y-duct last (if laying on your back and looking up).
|
|
554 viewsTo remove, simply loosen the bolt a few turns and pull the whole assembly out.
|
|
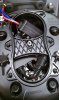
553 viewsI didn't get pictures of all the steps after this one because it's a bit fiddly. This shows roughly how you want to start the process of rotating the ballast anti-clockwise and move it a little left of center under that hourglass brace (center of headlight bucket). The electrical cables coming from the ballast will be pointing to the right side of the headlight bucket and the power plug will be up and next to the ignitor when done.
|
|
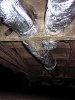
552 viewsThis is a view -- looking to the front of the Bus -- of the dreaded "Y" section where the heat exchanger ducts merge to the center tunnel duct.
|
|
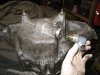
551 viewsRemoving the speedo sender from the damaged tail cover.
|
|
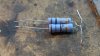
550 views(continued) The resistors came as a two-pack and were $1.25 each ($3.50 total for 4 resistors).
My "resistor pack". I wrapped the wires together so they will be in series...
|
|

550 viewsBefore, high-beam.
|
|
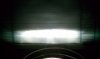
550 viewsAfter, low-beam.
|
|
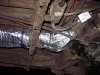
549 viewsView of the Y-section taken from the left side.
|
|

547 viewsDrive train balanced on the floor jack and on its way out.
|
|
546 views
|
|

546 viewsTwo terminal connector comes apart just like the three terminal connector.
|
|
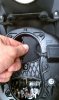
546 viewsRotating ballast clockwise to get it in there. The single electrical connector, or plug, goes down the right side of the headlight housing and then towards the high-beam bulb holder.
|
|
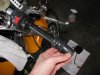
545 viewsSlide/peel the stock grip off.
|
|

545 viewsTo reduce scratches from the squeegee, wrap it in a semi-thick cloth. This is mine from a previous film application and is what I used after I noticed small scratches appearing on the film when I first started using the supplied one.
|
|
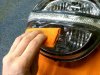
545 viewsThe improved squeegee in action, applying the bottom tint first.
|
|
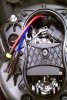
545 viewsThis is how it should look when done. The hard part of this install has been completed!
|
|

544 viewsIndexes all lined up. Ready for the case halves to be mated now.
|
|
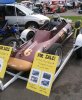
A Formula Vee for sale543 views
|
|
| 1529 files on 77 page(s) |
 |
18 | |
|





