 Most viewed - Zoom-zoom Most viewed - Zoom-zoom |

476 viewsIn case you drop the parts, here's how the bits go together. The washer goes on the screw and then the screw goes into the lever and the bushing. The flat side of the bushing faces the thumb pad.
|
|
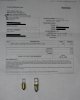
476 viewsComparison of the incandescent bulb (left) and the LED replacement (right).
|
|
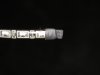
LED dual-element array (alternating white and amber LEDs).476 viewsCut the other end to the desired length or to simply remove the other wires. Use some heat-shrink at the end to seal it from the elements. I left a little over-hang and then bent the heat-shrink back on itself, then gently clamped with some needle-nose pliers.
|
|
475 views
|
|
474 views
|
|
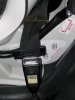
474 viewsClose-up of the belt locking clip. The seat belt tongue just clears the steel bar of the car seat. Notice how far down the car seat is in the 914 seat. The seat belt locking clip holds the car seat down so it won't tip during tight corners!
|
|

474 viewsFront comparison.
|
|

474 views
|
|

474 views
|
|
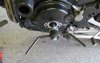
474 viewsThe turning tool screws in snugly and easily lets you rotate then engine to get the pulleys to TDC (Top Dead Center).
|
|
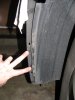
473 viewsRemove the two screws that attach the wheel well splash guard to the front bumper skin (left side shown).
|
|
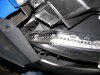
473 viewsShowing the path of the LED array as it goes down on the front part of the head light. That blue thing is simply a nylon auto trim tool I had laying nearby that I used to hold the fascia away from the head light so I could work with both hands. Now just apply power from the turn signal tap!
|
|

472 views
|
|
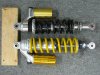
Detail 1472 viewsOEM Sachs on top (black spring) and Ohlins racing on the bottom (yellow spring).
|
|
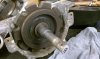
472 viewsRearward gear with original grease. The "B" means back lift box.
|
|

...after.471 views
|
|

471 viewsPlanetary gear in position and pin marked where it needs to be cut.
|
|
469 views
|
|
469 views
|
|
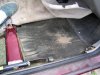
469 viewsFirst layer under right front carpet, foam padding like the rear but bonded to a protective rubber(?) sheet.
|
|
| 1529 files on 77 page(s) |
 |
29 | |
|





