 Most viewed - Zoom-zoom Most viewed - Zoom-zoom |
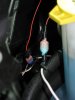
438 viewsThe red wire in the background is the turn signal tap while the white wire in the foreground is the feed to the DRL array.
|
|
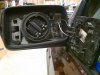
438 viewsWhat the interior looks like. I set the mirror so it was centered in the housing. I started at the 11 o'clock position and worked my way anti-clockwise (aka counter-clockwise), gently prying the mirror clips away from the ring mount.
|
|

437 viewsAnother shot.
|
|

437 viewsWhat was available given the meager selection at the FLAPS which caters to the V8 and truck crowd. 500-ohms per foot is dang good when compared to what Accel wires had and the stock Ducati ones!
|
|
436 views
|
|
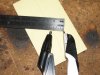
436 viewsTo make a nice 7/8" circle use a compass and set it to 7/16" (about 11mm).
|
|

435 viewsMondial hardtop.
|
|
435 viewsMake sure the step in the spacer fits accordingly!
|
|

435 views
|
|
435 views
|
|

Pack of Panteras435 views
|
|
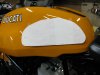
435 viewsCut the paper so you have a pattern. Tape it back to the tank, using the marks you placed earlier to property align it. Rub out the marks and put new ones down about 1/4" out. This will help when applying the StompGrip.
|
|
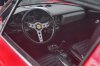
434 views'73 Dino GT 246 GTS interior.
|
|
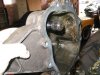
434 viewsWhen I carefully removed the broken cover this is what the inside looked like.
|
|

434 viewsThe retaining plate on top of the sliding switch assembly.
|
|

433 viewsGroup picture.
|
|
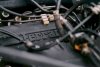
433 viewsEngine of the Ferrari 400i Straman conversion.This is the original picture...
|
|
433 views
|
|
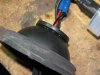
433 viewsWith the rubber cover turned inside-out, lift up the gasket and apply a continuous bead of silicone sealant a.k.a. RTV. This will insure a water-tight seal. Return the boot to its original state.
|
|
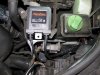
433 viewsLocation where I placed the left side electronics. Attached by using the supplied double-sided tape (strong stuff!).
|
|
| 1529 files on 77 page(s) |
 |
37 | |
|





