 Most viewed - Zoom-zoom Most viewed - Zoom-zoom |
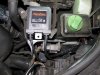
433 viewsLocation where I placed the left side electronics. Attached by using the supplied double-sided tape (strong stuff!).
|
|
433 viewsNotes: The instructions say to clean the area with brake cleaner and scuff the area. Because I'm using the TankSlapper to protect my tank I didn't do either but I did clean the area on the TankSlapper well.
|
|

433 viewsRemove the two bolts that hold the fender bracket, using a 4mm Allen wrench.
|
|

Pantera cockpit432 views
|
|
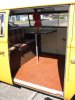
432 viewsFold out table.
|
|

432 viewsI installed the new wire on the same path as the stock wire, just moved the zip-tie a little closer to the right so the wire wouldn't rub on the oil line fitting. I tried to position the wires from rubbing against any parts.
|
|

432 viewsJust a very slight bend in the plug wire.
|
|
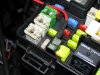
431 viewsThe fuse tab plugged in and with the stock 20A fuse in the BOTTOM. The top fuse will be a 1A to 3A item -- what ever is the smallest I can find -- since the LED array doesn't pull an appreciable amount of current.
|
|

430 viewsDamn she's a fine looking ride! Protectors mounted.
|
|

430 viewsHow the wire and core are positioned in the crimp.
|
|
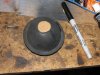
Through the rubber cover429 viewsThe following is the method I used on the left side after trying the right side by using the hard cover (described after this procedure). This is SO much easier to install and route wires, however, you MUST make sure you seal the gasket to the rubber boot so as to keep water out. I personally think this is the best way to do it with the kit I used.
I used a scrap piece of cardboard, cut in a 7/8" diameter circle, and traced the back side of the low beam rubber cover using a permanent marker.
|
|
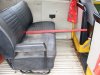
429 viewsThat's a yard stick. There's 15" of leg room there.
|
|
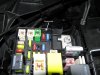
429 viewsGrommet installed. It's low enough that it will not interfere with the closing of the relay box lid. The fuse tap wire is 16 gauge so I used a grommet that had a 5/32" bore and 1/4" x 3/32" groove.
|
|
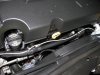
429 viewsRouting the power feed wire along an existing loom.
|
|

428 viewsAnother group shot.
|
|

428 views
|
|
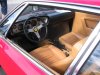
428 viewsVery nice interior.
|
|

428 views
|
|
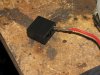
428 viewsMy kit came with holders that the wires clip into -- notice the orientation of the tang, it faces inside so it will lock in place.
|
|
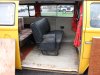
428 views2-person seat installed, yeay!!
|
|
| 1529 files on 77 page(s) |
 |
38 | |
|





