 Most viewed - Zoom-zoom Most viewed - Zoom-zoom |
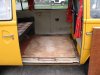
415 viewsSheet of plywood with carpet glued to it removed. Exposed are additional plywood pieces that everything is screwed into. Note that these pieces of plywood are screwed to the Bus floor. I really don't think it's necessary but luckily only a couple screws were used.
|
|

415 viewsThe front coil. The dull black one to the left is the original Ducati plug wire and my new one is on the right.
|
|
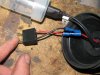
414 viewsBoth wires installed and ready to go.
|
|
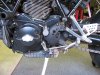
Close-up414 viewsStock cover.
|
|
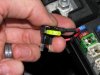
414 viewsStock 20A fuse removed and put in its new home.
|
|
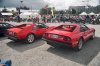
413 viewsNice pair of Ferrari 308's. Notice the cloudy, rain-filled skys?
|
|
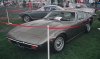
413 views'71 Maserati Ghibli SS.
|
|

413 viewsDropped!
|
|
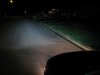
413 viewsAfter - Low beams and fogs, standing next to the B-pillar and looking forward.
|
|
413 viewsLoosely held in.
|
|
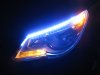
413 viewsParking lights on.
|
|
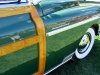
412 viewsA Chrysler Town and Country. I know, American metal but the genuine wood trim work was impressive.
|
|
411 views
|
|
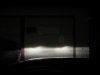
Before and after - against the garage door411 viewsBefore - Low beams.
|
|
411 views
|
|
411 views
|
|
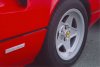
410 viewsFerrari 308.
|
|
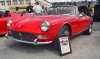
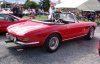
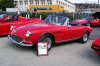
410 views'66 Ferrari 275 GTS
|
|
410 views
|
|
410 viewsBefore shot. That woman in the background was really distracting :-(
|
|
| 1529 files on 77 page(s) |
 |
42 | |
|





