|
|
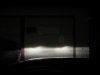
Before and after - against the garage door389 viewsBefore - Low beams.
|
|
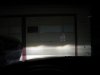
357 viewsBefore - Low beams with fogs.
|
|
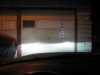
368 viewsAfter - Low beams.
|
|
Before and after - street view390 viewsBefore - Low beams, standing next to the B-pillar and looking forward.
|
|
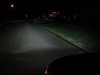
382 viewsAfter - Standing next to the B-pillar and looking forward.
|
|
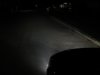
407 viewsBefore - Low beams and fogs, standing next to the B-pillar and looking forward.
|
|
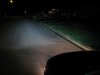
387 viewsAfter - Low beams and fogs, standing next to the B-pillar and looking forward.
|
|
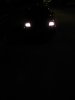
Before and after - facing vehicle374 viewsBefore - Low beams, facing vehicle.
|
|
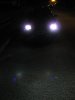
386 viewsAfter - Low beams.
|
|
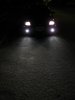
367 viewsBefore - Low beams and fogs, facing vehicle.
|
|
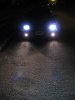
365 viewsAfter - Low beams and fogs.
|
|
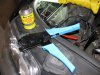
The install450 viewsLiquid electrical tape used to fill in and insulate crimps. High-quality ratcheting crimpers make the difference!
|
|
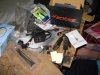
472 viewsXentec - The kit I used. Also, remove the DRL (Daytime Running Lights) relay, #173. It's located where the fuses are but a little deeper behind the dashboard -- it easily pulls straight out. Yes, you'll have to manually turn on your lights when you drive now. You can drive with the relay intact and the lights will come one (well, ours did), but the HIDs are getting a reduced voltage and may not turn on, they could even turn off while driving due to the reduced voltage feeding them. By removing the relay you insure that they get full voltage when you turn on the headlights.
|
|
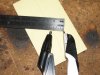
418 viewsTo make a nice 7/8" circle use a compass and set it to 7/16" (about 11mm).
|
|
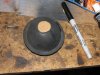
Through the rubber cover413 viewsThe following is the method I used on the left side after trying the right side by using the hard cover (described after this procedure). This is SO much easier to install and route wires, however, you MUST make sure you seal the gasket to the rubber boot so as to keep water out. I personally think this is the best way to do it with the kit I used.
I used a scrap piece of cardboard, cut in a 7/8" diameter circle, and traced the back side of the low beam rubber cover using a permanent marker.
|
|
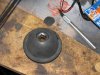
427 viewsTo hold the cover up while cutting, I used a 1/2" socket underneath. Use a very sharp Xacto blade and cut s-l-o-w-l-y and carefully.
|
|
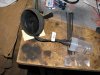
428 viewsFeed the harness through the rubber cup from the front side.
|
|
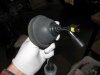
465 viewsSeat the wiring gasket as so...pretty dang obvious. How it should look.
|
|
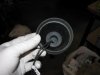
437 viewsThe interior.
|
|
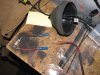
424 viewsFor the particular bulbs that came in this kit (an early version), I had to cut the wires and then feed them through the gasket. I used butt connectors and high-quality crimpers (expensive) to secure the wires.
|
|
|
|




