 Most viewed - 914 tranny swap Most viewed - 914 tranny swap |
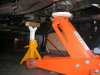
401 viewsEngine is supported and the jack placed for removing the tranny.
|
|
398 views
|
|
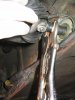
398 viewsNew firewall shifter bushing installed (soak in BOILING HOT WATER for ~30-60 seconds, place in hole, put a 24mm socket against it, and hit with hammer). The vice-grips greatly helped get the cabin shift rod into the under-engine shift rod joint.
|
|
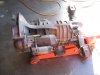
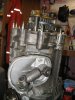
394 viewsTranny is out of the car...
|
|

394 views
|
|
389 views
|
|
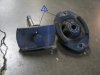
388 viewsWhen putting the tranny mounts back together make sure you line up the peg with the hole to keep things from rotating.
|
|
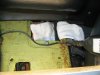
387 viewsI put a rag under the cabin shift rod to make it easier to maneuver when I had to put it back into the firewall bushing. Not really necessary if you have skinny fingers like me.
|
|
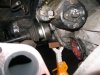
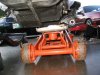
383 viewsThe left side is a pain in the neck, getting the CV past the starter, but mostly because it's greasy and just slows down the process as you wiggle back and down, back and down...
|
|
383 views
|
|
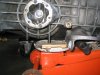
381 viewsThese next pictures show where I had the jack pad under the tranny. Note that the body is not centered!
|
|
380 views
|
|
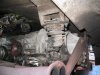
379 viewsBecause I had to swap tail covers, I removed the tranny mounts completely from the body.
|
|
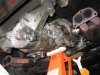
377 viewsIt's all a matter of backing the tranny out, lowering it a little, backing it out, lowering it a little, backing it out, etc.
|
|
373 views
|
|
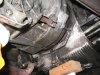
373 viewsThe tranny getting separated from the engine!
|
|
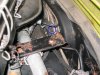
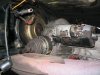
372 viewsLocation of the upper left nut (17mm) in the engine bay where the tranny mounts to the engine. The bolt is on the inner side of the starter and is used to hold the starter as well as affix the tranny to the engine. This nut can be removed without having to hold the bolt head as the bolt head is captured against the starter and thus won't rotate on you.
|
|
371 views
|
|
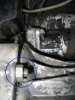
367 viewsThis is looking up at the tranny. Circled is the left lower engine/tranny nut that needs to be removed, just like the right side (the nut is fastened to a stud).
|
|

363 viewsWe have separation!!
|
|
|
|





